Showing posts with label Project Quilting. Show all posts

Thursday, March 22, 2018

Scrappy Log Cabin Pinnie Tutorial

Scrappy Log Cabin Pincushion Tutorial

A few years ago I did a Log Cabin Pincushion Tutorial. I like to make these little pinnies to give as bonus gifts with swaps, bee blocks, at sew days, etc. It's a quick project, and it's a great way to use up tiny scraps.

Project Quilting Challenge 9.6 this week is "SCRAPtastic". I'm running low on my stash of pin cushions, so I decided to make a new rainbow batch. This time around I decided to use muslin as a foundation to make the process quicker and easier (less trimming and fuss this way). Here's another quick tutorial on how to make this version of my scrappy log cabin pincushions.

Supplies:
One 5" x 5" piece of muslin or white/cream fabric for the foundation.
One 5" x 5" piece of fabric for bottom.
A bunch of small scraps.
Poly-Fil

Scrappy Log Cabin Pinnie Tutorial

You'll also need general sewing tools & notions such as:
Sewing Machine
Iron
Thread
Scissors
Quilting Ruler
Rotary Cutter
Hand-sewing needle
Pins 

Finished size after stuffing: approximately 4" x 4"

*Note: I like to roughly trim my scraps into square/rectangular shapes for this method. The pieces and seam allowance don't have to be perfect. That's the beauty of using the foundation.

Step 1:
Select two similarly sized small scraps. Place them right sides together, aligning the raw edges on one side, onto the foundation near the center. Stitch along that lined-up raw edge with 1/4" seam allowance.

Scrappy Log Cabin Pinnie Tutorial

Step 2:
Turn & Press.

Scrappy Log Cabin Pinnie Tutorial

Step 3: 
Working clockwise (or counterclockwise if you prefer), select another scrap that is approximately the length of the first two after they have been stitched together and pressed. Place the third scrap right sides together, perpendicular to the first seam and line up the raw edges along one side. Stitch. Turn & Press.

Scrappy Log Cabin Pinnie Tutorial

Step 4:
Continue in this manner until you have worked all the way around and covered the entire foundation. It's OK to go over the edges of the foundation.

Scrappy Log Cabin Pinnie Tutorial

Step 5:
Trim back down to 5" x 5".

Scrappy Log Cabin Pinnie Tutorial

Step 6:
Place the log cabin rights sides together with a 5" x 5" piece of fabric for the bottom. Stitch around all four sides, leaving a small opening in the center of one side for turning. Clip the corners.

Scrappy Log Cabin Pinnie Tutorial

Step 7:
Turn right sides out through the opening. Gently poke out the corners with a turning tool (knitting needle, chopstick, etc). Fold in the seam allowance at the opening. Press.

Step 8:
Fill with Poly-Fill.

Scrappy Log Cabin Pinnie Tutorial

Step 9:
Hand-stitch the opening closed with a slip stitch (ladder stitch) for an invisible seam.

Hooray! You're done! Tag me on Instagram @trina_peterson. I'd love to see your awesome Pinnie. :)

Scrappy Log Cabin Pinnies

Sunday, March 11, 2018

Project Quilting 9.5: The Oslo Craft Bag

Project Quilting Challenge Five this year is "A Stitch In Time". This one stumped me a little bit at first. My goal for this season (other than completing all the challenges) is to make projects that I can use on a frequent basis. I wasn't sure how I was going to incorporate this challenge theme into an accessory that I could use a lot.

Then I remembered how my husband bugs me about putting his stuff back (mainly tools) into their correct locations after I borrow things. He hates it when I borrow the screw driver and leave it on the counter instead of putting it back in the tool bag. And rightly so! I get super annoyed when he uses the shipping tape and doesn't put it back in the shipping supplies box (which he does on a regular basis, just so we're clear).

Eventually I came to the conclusion that organization was going to be my focus this week, because it definitely saves time. Nothing drives me crazier than having to hunt for something I know I've got, and I just can't find it!

Oslo Craft Bag

Sara Lawson's Oslo Craft Bag was on my short list of to-sew items, so I knew this was what I had to make this week. This is a free pattern that is available to her newsletter subscribers. All you have to do is sign up on her website, and she'll send it to you automatically. Don't worry: she's not a spammer. She also just came out with the video to go with it last week, which makes it even better if you're a visual learner like me.

Oslo Craft Bag
Oslo Craft Bag

This bag was really fun to put together. I added the rivets on the handles and handle tabs, because rivets are my new favorite thing. I also chose to hand-stitch the binding around the top, because I prefer it in specific cases like this. I love this bag, and I'm so glad I got it done before Modern Stitching Affair in April! It will be great to keep all of my notions and tools organized at the retreat. The bag has a permanent home right next to my sewing table, so it's definitely something I use on a daily basis. The finished size is about 14" x 7.5" x 6.5".

Oslo Craft Bag

Tuesday, February 20, 2018

Project Quilting 9.4: The Minikins Cotton Candy Pouch

First of all, I can't believe I've actually been able to keep up with all the Project Quilting challenges so far this season! I'm four for four. Hooray!

This week's challenge is "Mellow Yellow". Apparently the color yellow scares some people. I didn't know that! I love yellow, and my favorite color to pair it with is blue. My wedding colors were actually blue & yellow.

Minikins Cotton Candy Pouch

I was really excited that the challenge this week was just a color, because I REALLY wanted to make this particular bag: the Cotton Candy Pouch by Sara Lawson (Sew Sweetness). This is one of the patterns that comes with her Minikins PDF + Video bundle, and it's also her monthly challenge for February. I'm killing all kinds of birds with a single project this week.

Minikins Cotton Candy Pouch

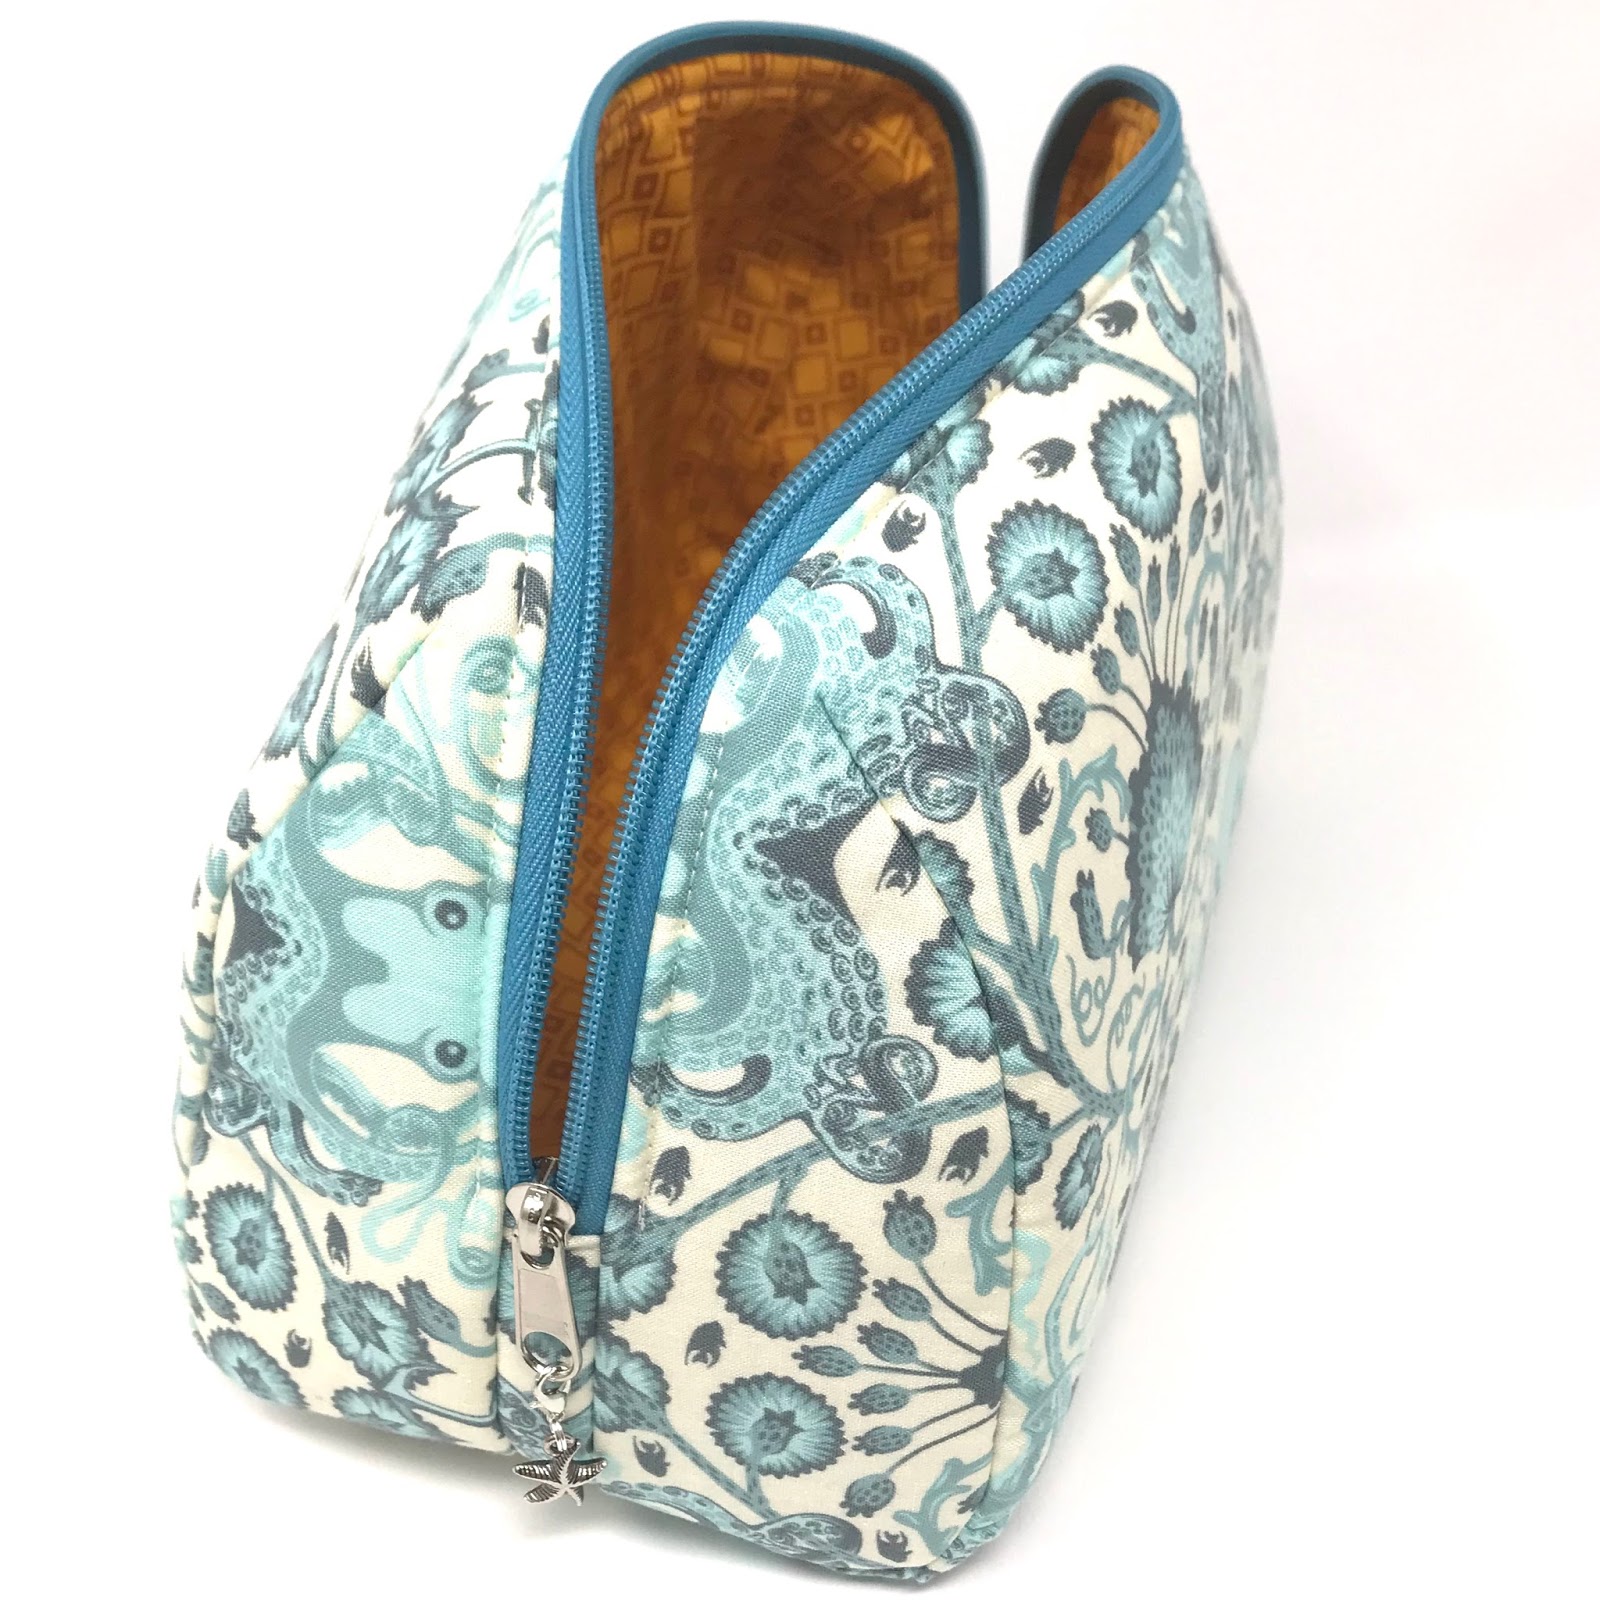
I won the $15 gift certificate to Sara's shop from PQ Challenge 9.2 (Thanks Sara & Kim!), so I ordered some of her cork and faux-leather fabrics. I've been really anxious (and also nervous) to give these a go. It was SO fun to work with the cork, and I think it turned out pretty awesome. The cork is the blue stuff on either side of the yellow Anna Maria Horner fabric. I didn't have a minute's trouble with it at all. I was particularly careful while topstitching: I used a longer stitch length (like Sara recommends), lowered my presser-foot-pressure (like I always do when using foam interfacing), and I made sure to have my integrated dual-feed on my Bernina engaged (as I usually do anyway).

I am IN LOVE with this bag! I made the large size, which finishes at about 12" x 7" x 3.5".

Minikins

Last week I made the Zeppelin Pouch, which is another pattern from the Minikins bundle, and which also happens to be blue & yellow! HA! Here's a few shots of that one. There are 12 unique patterns in the bundle, and all but two of those (I think) have multiple sizes, so I've still got plenty to keep me busy from that bundle. I can't wait to try them all!!

Minikins Zeppelin Pouch

Sunday, February 11, 2018

Project Quilting 9.3: Amethyst Project Bag

Project Quilting Challenge Three this season is "Bold & Brave". I knew exactly which project I wanted to tackle this week for the challenge: the Amethyst Project Bag by Sara Lawson (Sew Sweetness). 

Amethyst Project Bag

I sew my fair share of bags, but this gorgeous pattern has something that brings on the doubts and worries: a curved zipper. A few years ago, I tried another pattern by another designer that required the zipper to be installed around curved corners. I was NOT successful. Since then, I've avoided anything with similar requirements.

Amethyst Project Bag

Sara Lawson makes awesome videos to go with many of her patterns, and watching them makes me feel empowered to stitch pretty much anything. She shows how even these difficult techniques are completely doable, and great bags with fancy attributes are absolutely achievable.

I replied to a comment on Facebook last night saying how Sara's videos make me feel calm and zen about sewing and also excited at the same time. Although that sounds dichotomous, somehow it's true, and it feels really great. I recommend any of her pattern & video pairs/bundles if you want to tackle a nice bag. I suggest making her projects with exactly the supplies she recommends, at least for the first go-round. She knows what she's talking about, and the types of interfacings and other components she uses all add up to make very polished, professional bags.

Zipper Pull Charms

Sometimes my instinct is to use whatever I've got in my sewing room and stash that I think "will work OK" when stitching up a new pattern. You all know what I'm talking about, am I right? I've learned to RESIST THAT URGE with Sara's bags, because they're usually a slight disappointment when I use fleece instead of foam or the wrong kind of elastic, etc. When I'm able to invest the kind of time it takes to make a nice bag, I want it to come out great. Sara's patterns are all GREAT when you do and use what she says.

Amethyst Project Bag
If you spot some flaws in the pics of my bag, don't hold it against Sara's pattern. This was my first attempt, and it's not perfect. It turned out pretty OK, though, and I'll certainly be making more.

Find Sara's Amethyst Project Bag here, and check out her other patterns as well. I just picked up the Minikins bundle last week, and I'm SO EXCITED to start making those! I even joined a Minikins swap. Unfortunately, the swap sign-ups just closed, but these bag patterns would be awesome for a lot of other swaps as well (I'm thinking of the Modern Stitching Affair swap here, hint hint). They would also make awesome gifts; there's a bag for everyone in that bundle.

Before I go, check out these new snips I won from Project Quilting Challenge 9.1 a few weeks ago! They were generously sponsored by Warm Crochet, and they are awesome: beautiful and really sharp! I'm loving them. Thanks Warm Crochet! Thanks, Kim, for being an amazing host and organizer!

Warm Crochet Scissors

Wednesday, February 7, 2018

Project Quilting 9.2: iPad Stand

The second Project Quilting challenge this season was “Triangulation”. I knew I wanted to make some sort of useful accessory, since that’s my goal this season, and I was initially at a loss of what to do. Then I remembered how badly I’ve been wanting an iPad stand for my sewing area, so I can easily view PDF patterns and videos while I’m sewing instead of having to print everything. I found this tutorial with a quick Google search, and it looked perfect.

iPad Stand

This project was quick, easy, and very practical. I appliquéd a Mac Apple onto the front, so my project would qualify as “quilty” for the challenge, and because...well, it’s awesome. I cut into “my precious” Carolyn Friedlander stash and shocked the world! (Well, I shocked my best friend at least.) She knows how obsessive I am with my CF fabric; I almost never use it. It has its own big drawer. But alas, I have a layer cake of this particular line in addition to a fat quarter bundle, so I figured I could go ahead and take the plunge.

iPad Stand

The free tutorial worked out great. The only thing I’d change if I made another stand would be to use rice in the little front roll section to add some weight. It’s a great stand, and an incredibly fast and simple project. This would make an excellent little gift for anyone with a tablet.
iPad Stand

iPad Stand

Thursday, February 1, 2018

Project Quilting 9.1: Santorini Totes

If you haven’t heard of Project Quilting, stop what you’re doing and click here. Actually, finish reading this first.

Project Quilting is an awesome, annual, short season of quilting challenges for which you have one week to start and complete a project for each challenge. My friend, Kim Lapacek, at Persimon Dreams started it nine years ago. It has grown over the years, and she’s  gathered awesome sponsors who give prizes to random winners for every challenge. Our friend, Trish “Quilt Chicken” Frankland is now Kim’s Project Quilting  co-hort, and she comes up with the challenges. I was one of the lucky random winners for the first challenge this season. Look at the awesome scissors I won from Warm Crochet!! Aren’t they gorgeous? They’re also super sharp and functional.

Warm Crochet Scissors

This season kicked off on January 7th with “Hometown Proud” as the first challenge. My favorite thing about Project Quilting is that you don’t necessarily have to make an actual quilt to participate. A handmade object that includes quilty attributes can also work. See any of the PQ Challenge posts at Persimon Dreams for the actual rules. I made three quilted bags for the first challenge.

Santorini Tote

Two of my friends and I are knitting temperature blankets this year, so I thought we could each use a nice big project bag. Coincidentally, my friend, Natalie Santini, over at Hungry Hippie Sews was looking for some help testing one of her patterns: the Santorini Tote. I thought this pattern would make an excellent big-knitting-project bag, so I went for it. I pieced the top half of the main panels for the bags with charm squares from my group of "Strip Poker" players mentioned in my last blog post. I'm always looking for ways to use the strips and charms that I take from my fellow fabric gamblers!! HA! The bottoms of the panels (and straps) are Essex Linen. Everything I used for the bag was from my stash, except the zippers. I ordered those from my favorite zipper supplier: Zipit Zippers on Etsy.

Project Quilting

To make the bag extra perfect for a knitting project, I added some pleated pockets on the inside to hold yarn and a grommet through which to feed yarn, so it doesn’t get chewed up by the zipper teeth while we’re working on our blankets.

Knitting Project Bag

And how about those cool zipper charms, eh? You can find plenty of those in my Etsy Shop for your own zipper projects. They also work well as row markers!
Zipper Charms
Zipper Charms
Zipper Charms

I used two layers of batting instead of the foam interfacing that one would usually use for the Santorini Tote. I chose to use batting, because I’ve never quilted on the foam. Normally I’d be up for trying something new, but  I wanted these bags to look great since two were going to be gifts. As a result, my bags are a little floppy, but I love them for their intended use. They work great.

The Santorini Tote is an amazing pattern, and it includes two sizes. I made the smaller one for the knitting project bags, and I plan to make a large one (with foam) for travel. Get the pattern here.

Follow Persimon Dreams to join in the Project Quilting fun! If you’re not a quilter, you can still play along by voting on your favorite projects during the week following each challenge.

Here is the first month of my two temperature blankets. I'm doing one for my new hometown in Walworth, Wisconsin and one for Calais, Maine, where I grew up. Each of my two boys will get to keep one at the end of the year when they're done. I'm excited to see how these two similar climates differ throughout the year. I think Walworth is a tad warmer with a slightly longer warm season. Good thing, too, because I LOVE it here!!

Sunday, February 23, 2014

The Dark Side

This week's Project Quilting Challenge was "Across the Universe". Well I don't know much about space…and anyone who knows me knows that I am NOT a Beatles fan…because that would be like…sacrilegious…according to any true Stones fan.

So round about Friday morning I was struggling for an idea for this week's challenge. Then I connected the dots: Sexy Pants is a Floyd fan. Dark Side of the Moon!! I thought improv piecing this album cover would be fairly simple and quick.

WRONG.

I think I finished hand-stitching the binding at 3:30 am this morning, so please excuse the hurried post and photos. The up-side is…I finished the new season of House of Cards and got through the first 3 seasons of Downton Abbey for the 5,689th time while making this quilt.  :)

The Dark Side

As you can tell from the multiple shades of black, I used solids from my scrap bin for the top. I actually had everything I needed for the quilt down in my shop - which was lucky since I worked on it for 2.5 days straight. There wasn't much time to go out in search of supplies. And I pieced the top and back entirely on my Featherweight.
Pieced with Scraps
I used my new Grace Frame and trusty Juki 2010Q to quilt wavy lines.
That part was super fun! I LOVE my Grace Frame.
Pieced Back

Quilt Label
This is my first pieced back! Usually by the time I finish a quilt top, I just want to get to quilting and finishing. Piecing a back seems like such a monumental task to fit somewhere in between. However, they always look fun when other people do them…and I thought Sexy Pants was worth the extra effort…so Voila! I had to throw in a few hearts to make sure S.P. knows he's loved.
Project Quilting Challenge #4

Finally Sexy Pants has a quilt of his very own, and he can stop stealing mine. But now I feel that a Stones Quilt is in order, because I'm slightly jealous.

Quilt Name: The Dark Side
Finished Size: 53" x 72"
I create in Sun Prairie, Wisconsin.

VOTE FOR YOUR FAVORITES IN THIS WEEK'S CHALLENGE HERE!!

Thursday, February 6, 2014

Halloween Hanger Paper Piecing Pattern

I'm pretty excited about getting my Project Quilting Challenge #3 done early this week! The theme for this challenge is candy. I suppose the logical thing to do given the time of year would have been to make something Valentine-related. I'm not much of a Hallmark Holiday kind of gal, however, so my thoughts on candy geared me to Halloween! I love Halloween. Although I haven't been to any costume parties in the last couple years, it's still my favorite holiday. Maybe I should convince Sexy Pants to throw a party this year. :)

I woke up with a Halloween-inspired idea yesterday morning and immediately set to work with my graph paper, trusty MacBook, and a pot of coffee. A little while later I had three new paper piecing patterns, so I headed down to the shop to stitch them up. I thought these would make a cute hanger for the door during Halloween season, so I just put them together into a column, added a border, and proceeded to finish a mini quilt hanger. I was so excited about the result that I decided to write the pattern. This project is so fast and fun! You can get the pattern (which includes the paper-piecing templates and quilt assembly instructions) on my Craftsy Pattern Page or in my Etsy shop by clicking either of those links. The pattern does not include instructions on how to paper piece; you must already know how to do that or refer to a tutorial.

All in a day - from idea to reality.

Happy Halloween!!….in 8 months. :)

There's no time like the present to prepare!