Showing posts with label Craftsy. Show all posts

Monday, November 28, 2016

Sewing with Knits

I've been wanting to make clothes since I started sewing, but it's so scary! All 5'10" of me has a near impossible time trying to find clothes in stores that fit. Everytime I go into a dressing room, I just get angry.  It's the story of our lives, am I right? 😉

I tried making a couple garments with woven cotton in the past, but nothing came out well enough for me to actually wear.
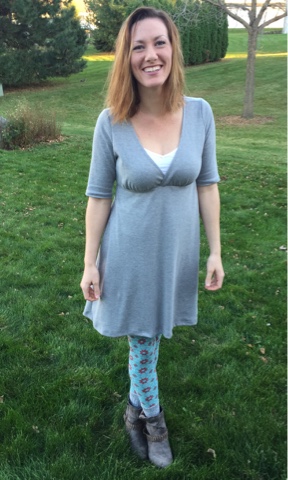
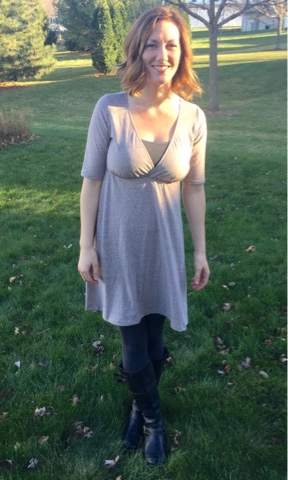
I finally bought the Sewing With Knits class on Craftsy with Meg McElwee of Sew Liberated, and it. Is. Awesome! She dispelled all my fear of working with knit fabrics, and the patterns for the class are simple, staple items that are perfect for garment beginners like me. 

So far I've made three of her Surplice Empire-Waist Dresses and one V-neck T-shirt. No picture of the T-shirt I'm afraid, but it turned out nice. 

Surplice Dress

This first dress I made is great, but I really needed to lengthen the bodice (top portion), so I added an inch for the second dress. 

Surplice Dress

It fit much better, but before I made the third dress, I added another 1/2". The third one is perfect. I also made long sleeves, since it gets a little chilly in Wisconsin over the winter. 😉

Surplice Dress

I already have fabric and plans for two more of these dresses. They're so comfortable. Paired with leggings, they are perfect for around the house or running out for errands. My son loves to tug the hem when he wants something. 😉

Meg's class is great if you want to start sewing with knits. She teaches the tricks for using your regular domestic sewing machine. You don't need a serger! All you need is a zig-zag stitch. I only had to purchase three inexpensive items to go with my fabric for this class. The dresses and shirt have all worn and washed (a few times already) beautifully. Give it a shot!

Monday, April 27, 2015

The 1 Hour Basket

There's a basket making craze happening lately on Instagram! Tons of pics of the 1 Hour Basket are popping up all the time. This is a fun, quick, and best of all FREE pattern by Hearts and Bees that you can download from Craftsy.

1 Hour Basket

The nesting bug is really biting the past few days, and I decided that I needed something cute to hold all the bottle parts for the tiny human. Organization is key, after all. To what? I'm not exactly sure. 

Hour Basket

So I finally jumped on the bandwagon and tried out one of these baskets. It did in fact only take me 54 minutes from start to finish - including pressing and cutting. 

1 Hour Basket by Hearts and Bees

I also added a couple of my own minor touches. I wanted the handles to be a little stiffer than what I've seen on the Instagram pics, so I added a layer of Pellon's Shape Flex to those. I also made them an inch shorter, and I really like how they turned out. 

The only other tweak I made was a little extra top-stitching. I really enjoy the look of a double top-stitched seam, so I did that to both sides of the handles and around the top of the basket. 

Hearts and Bees Hour Basket

This is a great pattern, and I think I'll probably make one or two more of these for some odds and ends in the nursery. 

Hour Basket

I tried to get a picture of Keef in the basket, but she was having none of it. She is not a team player. :)

Sunday, May 18, 2014

Washi Dress

**Warning --->
Due to the stark white severity of the exposed skin in the following photos, sunglasses are recommended for your own viewing protection.**
:)

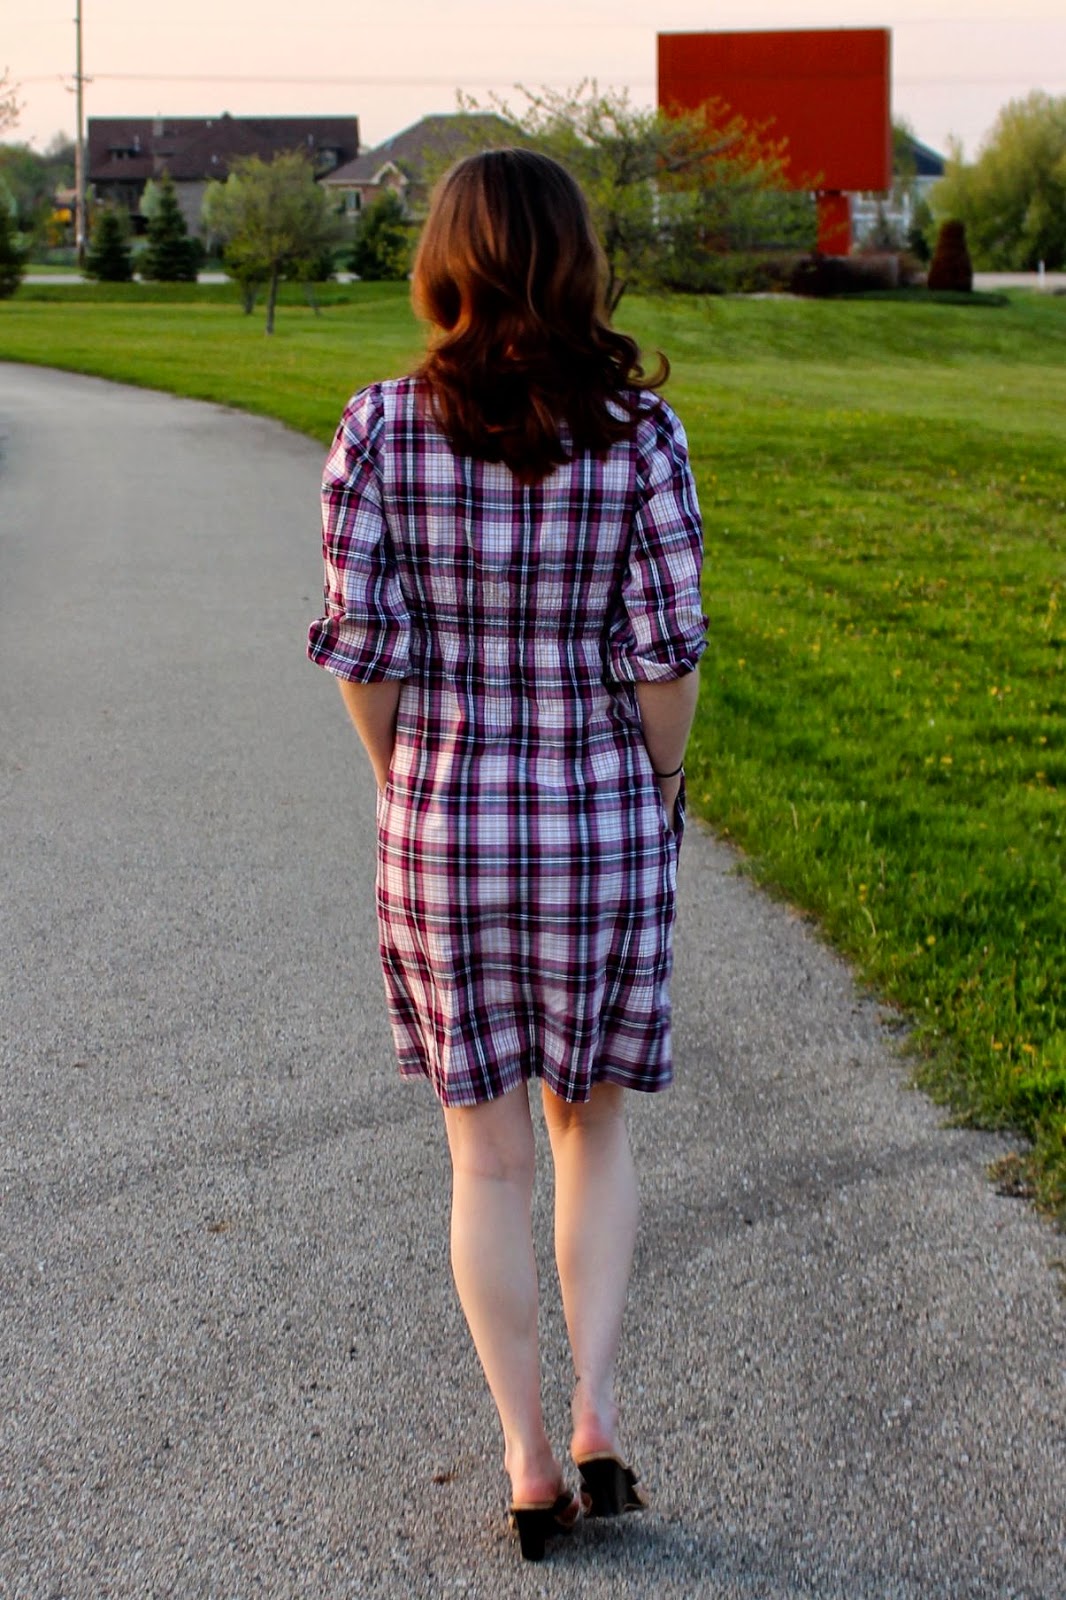
Washi DressThis weekend, I took a break from scrub caps and finally made my very own Washi Dress. I don't sew many garments, but one of my short term goals is to do that more often. It's nearly impossible as a gal at 5'10" to walk into a store and buy clothes off the rack. Making my own clothes is the obvious solution, albeit intimidating.

Rae Hoekstra's Washi Dress Pattern is so cute, and very easy. There were only 6 pieces to the version of the pattern that I made. First I made a muslin for the bodice, because I was pretty sure that I would need to lengthen just about everything. I was right, and the muslin only took a few minutes (well worth the effort). I added an inch or so to that, a few inches to the skirt length, and a bit to the sleeve as well. I learned how to make pattern piece adjustments from the Fast-Track Fitting class with Joi Mahon on Craftsy. It's a great class, and it saves so much time and heartache to make the adjustments to the pattern pieces instead of making an entire garment and then trying to alter it when it's finished. Ask me how I know. :/

Washi DressI used my serger to finish the seams, so the inside looks and feels great. No raw edges. Surely an overlock or zigzag stitch from a regular sewing machine would produce a great result as well, if you don't have a serger. I opted for the facings instead of a full bodice lining, and I chose to topstitch those down, because I like the look.

I can't tell you how excited I was when this dress was finished, because it actually fit, and it's comfy! Woohoo! I'm not in love with the fabric, but the reason I used it was because I bought it on clearance a while ago, and I didn't expect my first attempt to be a success. The quality is nice, though. It's soft, light, and doesn't wrinkle too badly. I can't wait to go pick out some wicked fabric to make more of these dresses! I'll likely make a few different versions that include different sleeves and tunic-length. Check out the Washi Dress Flickr Pool to see different versions of this pattern.


Washi Dress Back

Washi Dress