Friday, December 9, 2016

Stitch Tease Star Quilt

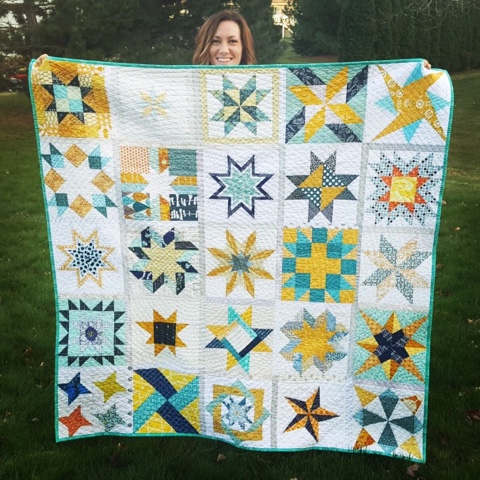
The completion of this quilt is long overdue. This is my Stitch Tease Bee quilt from 2014, round three, of the bee.  That was the first year I joined the bee, so this is my very first bee quilt, and it is so special to me.

Trina's Stitch Tease Star Quilt

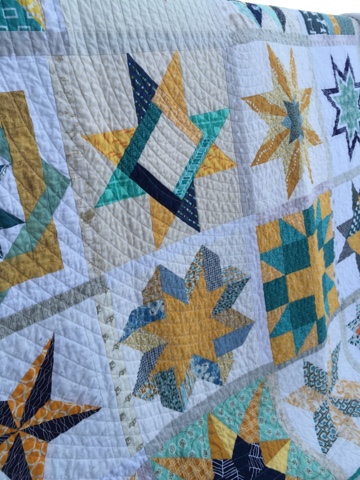
There are twelve of us ladies in the Stitch Tease Bee from the US, Europe, and Africa. I asked them to make two 12" star blocks - any star blocks they wanted - in a specific Design Seeds color palette. They did an amazing job, as always, and I love every block. 

Trina's Stitch Tease Star Quilt

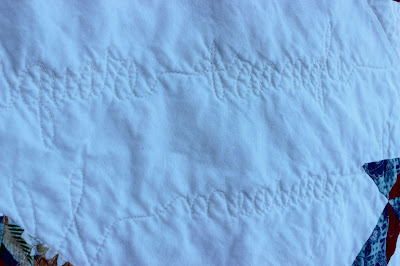
I quilted this on my Juki 2010Q with my walking foot in a spiral. The back is a vintage sheet. It's so soft and cozy, and the texture from the spiral quilting makes this a great quilt to curl up with on the couch. It's about 64" x 64". This will be one of my treasures. 

Thanks to all the Stitch Tease ladies who made blocks for this quilt! 

Dianne 

Saturday, December 3, 2016

Bee blocks

haven't shared my bee blocks in so long! We just finished another round in the Stitch Tease Bee, and we're about to go again. Here are my blocks from the last few months:

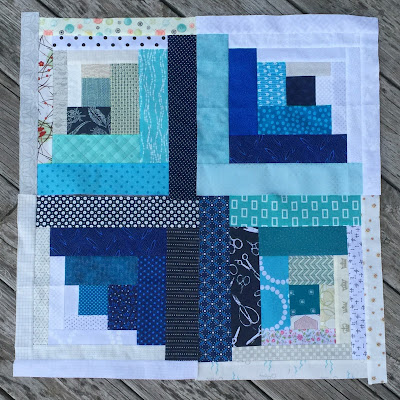
My month was September, and I wanted curvy log cabin blocks in blue to make bubbles. Here are four of them them set together. Two are mine and two were from my friend, Cindy. I can't wait to put this top together!

Curvy Log Cabin Blocks
Orange Peels for Kari

Orange Peel Blocks

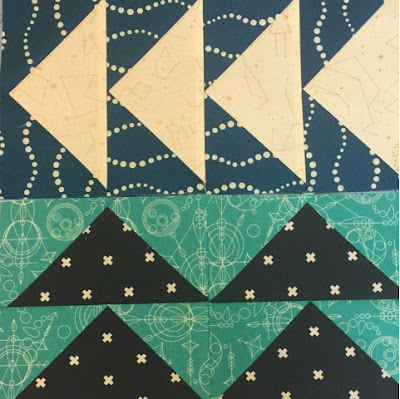
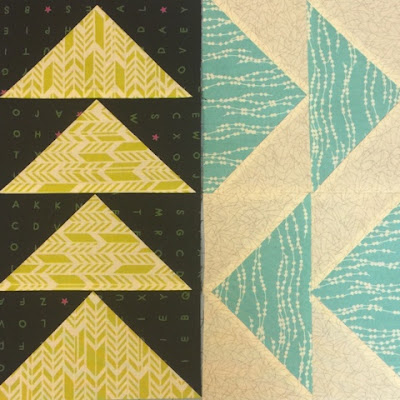
Flying Geese for Di

Flying Geese Blocks
Flying Geese Blocks

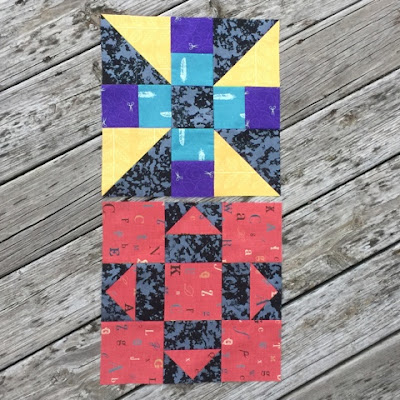
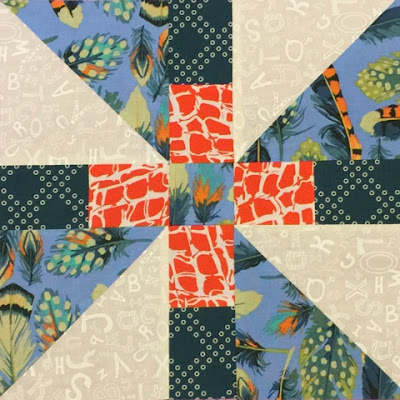
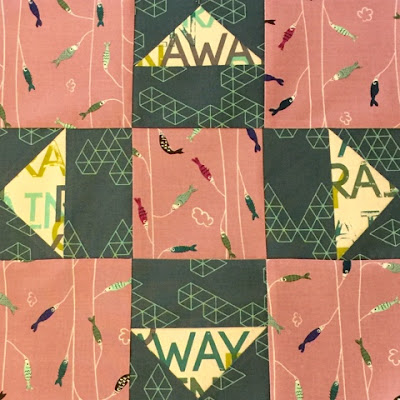
I also joined a new local bee, and we call ourselves the Stripper Stash Sampler Society. Don't get the wrong idea! "Stripper" comes from our love of fabric strips. We get together once a month to hang out, play games, and gamble with our scraps! Now we've added the bee, and we exchange our blocks in person every month. It's a blast. For the first round, we all picked two blocks to make every month. The queen for the following month brings a fat quarter of her focus fabric for each stripper and hands them out at the meeting. Then we have the month to add some coordinating fabric from our stash and make our two blocks for her. It's been fun to see our blocks done up in different fabric combos, and it's always exciting to see what each queen picks for fabric. These are my blocks from our first three months:
Stripper Stash Sampler Society Blocks

For Andria

Stripper Stash Sampler Society Blocks

For Dayna

Stripper Stash Sampler Society Blocks

Here are a few of us this month having a grand time and celebrating Andria's birthday. I'm so grateful to have a friendship with all of these fabulous ladies!

Stripper Stash Sampler Society

Monday, November 28, 2016

Sewing with Knits

I've been wanting to make clothes since I started sewing, but it's so scary! All 5'10" of me has a near impossible time trying to find clothes in stores that fit. Everytime I go into a dressing room, I just get angry.  It's the story of our lives, am I right? 😉

I tried making a couple garments with woven cotton in the past, but nothing came out well enough for me to actually wear.

I finally bought the Sewing With Knits class on Craftsy with Meg McElwee of Sew Liberated, and it. Is. Awesome! She dispelled all my fear of working with knit fabrics, and the patterns for the class are simple, staple items that are perfect for garment beginners like me. 

So far I've made three of her Surplice Empire-Waist Dresses and one V-neck T-shirt. No picture of the T-shirt I'm afraid, but it turned out nice. 

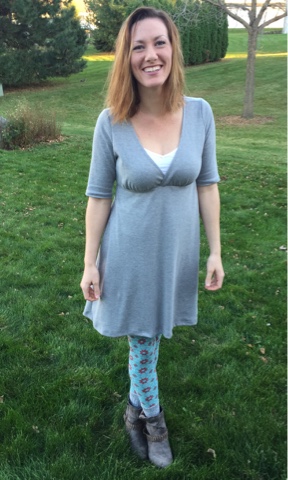
Surplice Dress

This first dress I made is great, but I really needed to lengthen the bodice (top portion), so I added an inch for the second dress. 

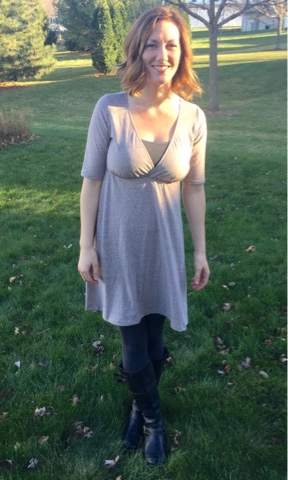
Surplice Dress

It fit much better, but before I made the third dress, I added another 1/2". The third one is perfect. I also made long sleeves, since it gets a little chilly in Wisconsin over the winter. 😉

Surplice Dress

I already have fabric and plans for two more of these dresses. They're so comfortable. Paired with leggings, they are perfect for around the house or running out for errands. My son loves to tug the hem when he wants something. 😉

Meg's class is great if you want to start sewing with knits. She teaches the tricks for using your regular domestic sewing machine. You don't need a serger! All you need is a zig-zag stitch. I only had to purchase three inexpensive items to go with my fabric for this class. The dresses and shirt have all worn and washed (a few times already) beautifully. Give it a shot!

Wednesday, September 14, 2016

Roads for John

Pinterest is a time-suck for sure, but sometimes I find something completely irresistible.


I had to make these roads out of old jeans for John, since he loves playing with cars and trucks. I made them a little different than the ones I found on Pinterest. Mine are reversible, and I used yellow grosgrain ribbon for the stripes instead of paint. They're really durable, and I think they'll hold up well to toddler abuse. Time will tell.


Mom for the win!

Sunday, September 11, 2016

Double Zip Wallet - a Noodlehead Pattern

It has been time to replace my beloved triple zip for far too long. Although it held up like a champ and is still technically functional, it's looking rather ratty. The amazing Triple Zip pattern is a free tutorial by A Quilter's Table. It's such a handy pouch, and it's a perfect gift. There are certainly more in my future. 

Triple Zip

I'm embarrassed to admit that I've had Noodlehead's Handmade Style book since the release, and I hadn't made any of the projects until yesterday. ALL of the patterns in the book are awesome. It's the best modern project book I've seen.

Double Zip Wallet

I decided to make the Double Zip Wallet to replace my Triple Zip. One thing I loved about the Triple Zip was having the three separate zip compartments to keep different essentials organized. It eliminated the need to carry an entire purse if I didn't want to.

Double Zip Wallet

Noodlehead's Double Zip Wallet is perfect. I still have a place for everything, with the added bonus of card slots.

Double Zip Wallet

True to Noodlehead form, the pattern is expertly written: clear and concise. I made the entire wallet yesterday morning. I certainly recommend this pattern. I can't wait to make other projects from the book!

Monday, July 11, 2016

BB-8 Thumbs Up Pattern

In the spirit of one of my son's first words being, "B-B" for BB-8, I thought I'd design a cross stitched picture for his bedroom.

Behold! BB-8 gives the thumbs up.


 I've added the pattern to my Craftsy pattern store, so you can stitch BB-8, too!

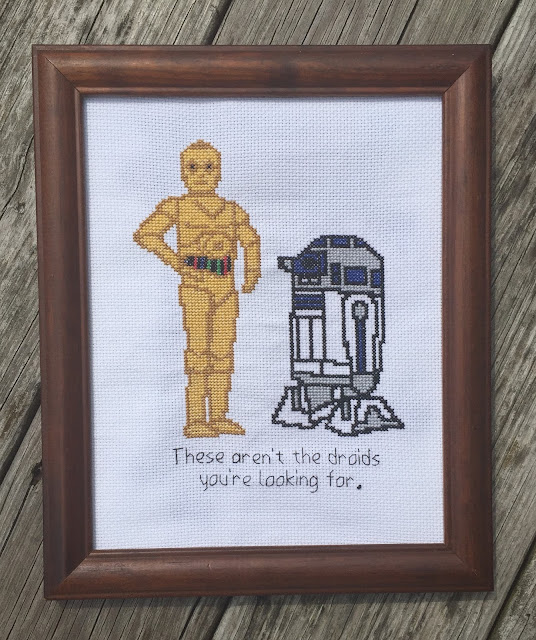
Now on to C3PO...


Thursday, March 17, 2016

February Stitch Tease

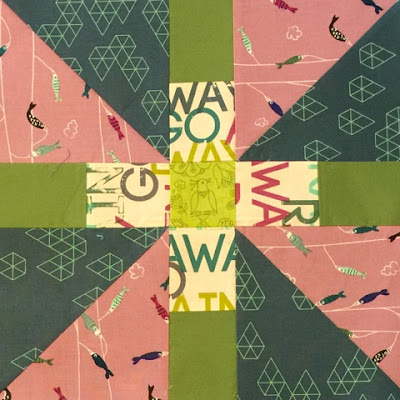
February was another improv month for the Stitch Tease Bee. Dianne wanted Midcentury Modern blocks. Luckily, she provided an excellent Pinterest board for inspiration and great suggestions for fabric selection.

I procrastinated again with these blocks, because I was intimidated by the task set forth. Today I finally got to work and made my two blocks. I am pleased with how they turned out in the end. 

Mid Century Modern Quilt Block

Midcentury Modern Quilt Block

I hope Dianne likes them, and they go well with the rest of her blocks!


Tuesday, February 2, 2016

January Stitch Tease

I finished my January Stitch Tease Bee Blocks for Susan just in the knick of time (as usual these days).

Not Squared Block

Improv Quilt Block


Susan, like the rest of us, adored Di's "Not Squared" quilt, and she wanted one of her own. We were charged with making these improv blocks in jewel tones. I admit to being intimidated when anyone says "improv". Even though I usually like the result, I get a little nervous in the beginning. These blocks are pretty easy, though, so it wasn't so bad. The trick is working in the "wonky". In theory it should be easy, but sometimes if you're not wonky enough, it just looks like you messed up what was supposed to be a straight seam. Yikes!


Friday, January 29, 2016

November Stitch Tease

I'm a little behind on posting about my Stitch Tease Bee Blocks, but I definitely didn't want to miss showing these ones. Hadley chose Anna Maria Horner feathers for her bee blocks, and they are so gorgeous!

Anna Maria Horner AMH Feathers

These blocks weren't the easiest I've ever made, and some of my bee mates mentioned having trouble getting the correct size in the end. I was very careful to print the templates at 100% and cut out each piece with caution! I chose to paper piece the feather portion, and that made things very manageable. The blocks ended up coming out to the correct size, but I admit to taking it very slowly with these ones. The pieces (templates) are not normal rectangles, so lining up the edges takes a little patience. 

Overall, though, these blocks are definitely worth the effort. They're so beautiful. I can't wait to see Hadley's finished quilt. 

Tuesday, January 26, 2016

Hop, Skip, Jump Quilt

I am filled with joy to finally have this quilt finished!!

Hop, Skip, Jump Quilt

 This was the 2013 Block of the Month hosted by Sew Lux Fabric. I rarely choose kits, but they were offering PB&J with this BOM, so I signed up. I love this fabric line from Basic Grey for Moda. It's one of my favorites.

I chose to put my blocks on point to make the quilt a little larger. It finished at about 48" x 65". It's a good size couch throw, and I've been enjoying cuddling up with my son and this quilt.

I knew I was going to keep this quilt (because I love the fabric), so I seized the opportunity to go a little crazy with the free motion quilting and get in some practice trying something new. I did random groups of vertical figure eights on horizontal lines across the quilt, and I worked in a whole bunch of quilting and sewing terms. It was fun to write these words out on my quilt, and I was actually surprised at how legible they ended up being.

Free Motion Quilting

 I quilted this one on my Juki 2010Q and Grace Frame with Signature thread and Pellon Nature's Touch 100% Cotton Batting. The backing is a vintage sheet. I love the softness from those broken-in sheets. Every time I find a good one at the thrift store, I count it as a huge win (for the comfort, price, and opportunity for a long new life). You can't beat a $1.99 quilt back, eh?

Free Motion Quilting

I think almost every quilter makes the following statement almost every year, but seriously: I think this is the year of the UFOs and stash sewing for me. Since the new year, I've completed this quilt and finished two quilt tops with stash-only fabric. I've also joined in the #2016fal fun by pledging to finish 7 UFOs in the first quarter. We'll see how close I come to that goal, but I'm really working hard on it.

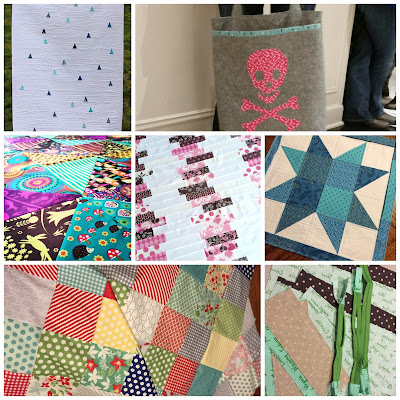
Here's my finish-along goal collage:

Finish-along 2016


Wish me luck!

Thanks for stopping by, and happy stitching!  :)


Saturday, January 16, 2016

Slopes: a Tutorial

One of the Modern Quilt Guild Quilt Con challenges this year was to use a Darlene Zimmerman triangle template to make an original quilt design. I signed up for the challenge and got the 45 degree (2.5") template in the mail, and this is what I came up with.

Slopes Quilt

I named it "Slopes", because it reminds me of a ski hill. Please ignore the sub-par quilting; I'm still a novice free-motion-quilter. But hey! At least I'm trying, am I right?! 

My goal was to make a simple quilt that would make a fun design for kids. I thought these small bits of printed fabric strewn across a solid quilt would be fun for a kid to explore. Although my choice of white might not be ideal for kids, this quilt design could be made up in any color. I just had a lot of white kicking around, and I thought it would look great with some blue scraps. Personally, I'm OK with my son getting stains all over it as long as he enjoys it.

The finished Slopes quilt measures about 42" x 60", and here's how you do it:

1. Cut 30 (2.5" x width of fabric) strips from your solid. 

2. Use your triangle template to cut 30 triangles from print scraps.


3. Lay out your strips and use your template to cut out one triangle from each strip in random spots. Replace each solid triangle you just removed with a print triangle, and piece it (sew) in place.


4. Sew your strips together lengthwise: 1 strip = 1 row. 30 rows total with one triangle randomly placed in each. 

5. Voilà! You're done with the top! Now just quilt and bind as desired.  

Triangle Template

This quilt is so easy and fast, and it would make a great baby gift. 

I think it would also make a fun Jelly Roll quilt. You could reverse the pattern to use prints for the strips and solid triangles. 

You can get an acrylic triangle template like mine here. Or you can make your own with some cardboard by drawing a 2.5" tall triangle with two 45 degree corners on the bottom (use the 45 degree line on your quilting ruler). 

If you decide to make your own Slopes quilt, I'd love to see it! Tag me on Instagram or send me a pic!