Monday, June 30, 2014

Polaroid Quilt

Quilt LemonadeAfter returning home from Sew South Retreat this year, I put out some feelers in our retreat Flickr pool to see if any gals wanted to help out with (fellow-retreater) Valerie's wonderful Quilt Lemonade Project. For details about this awesome project, visit the link.

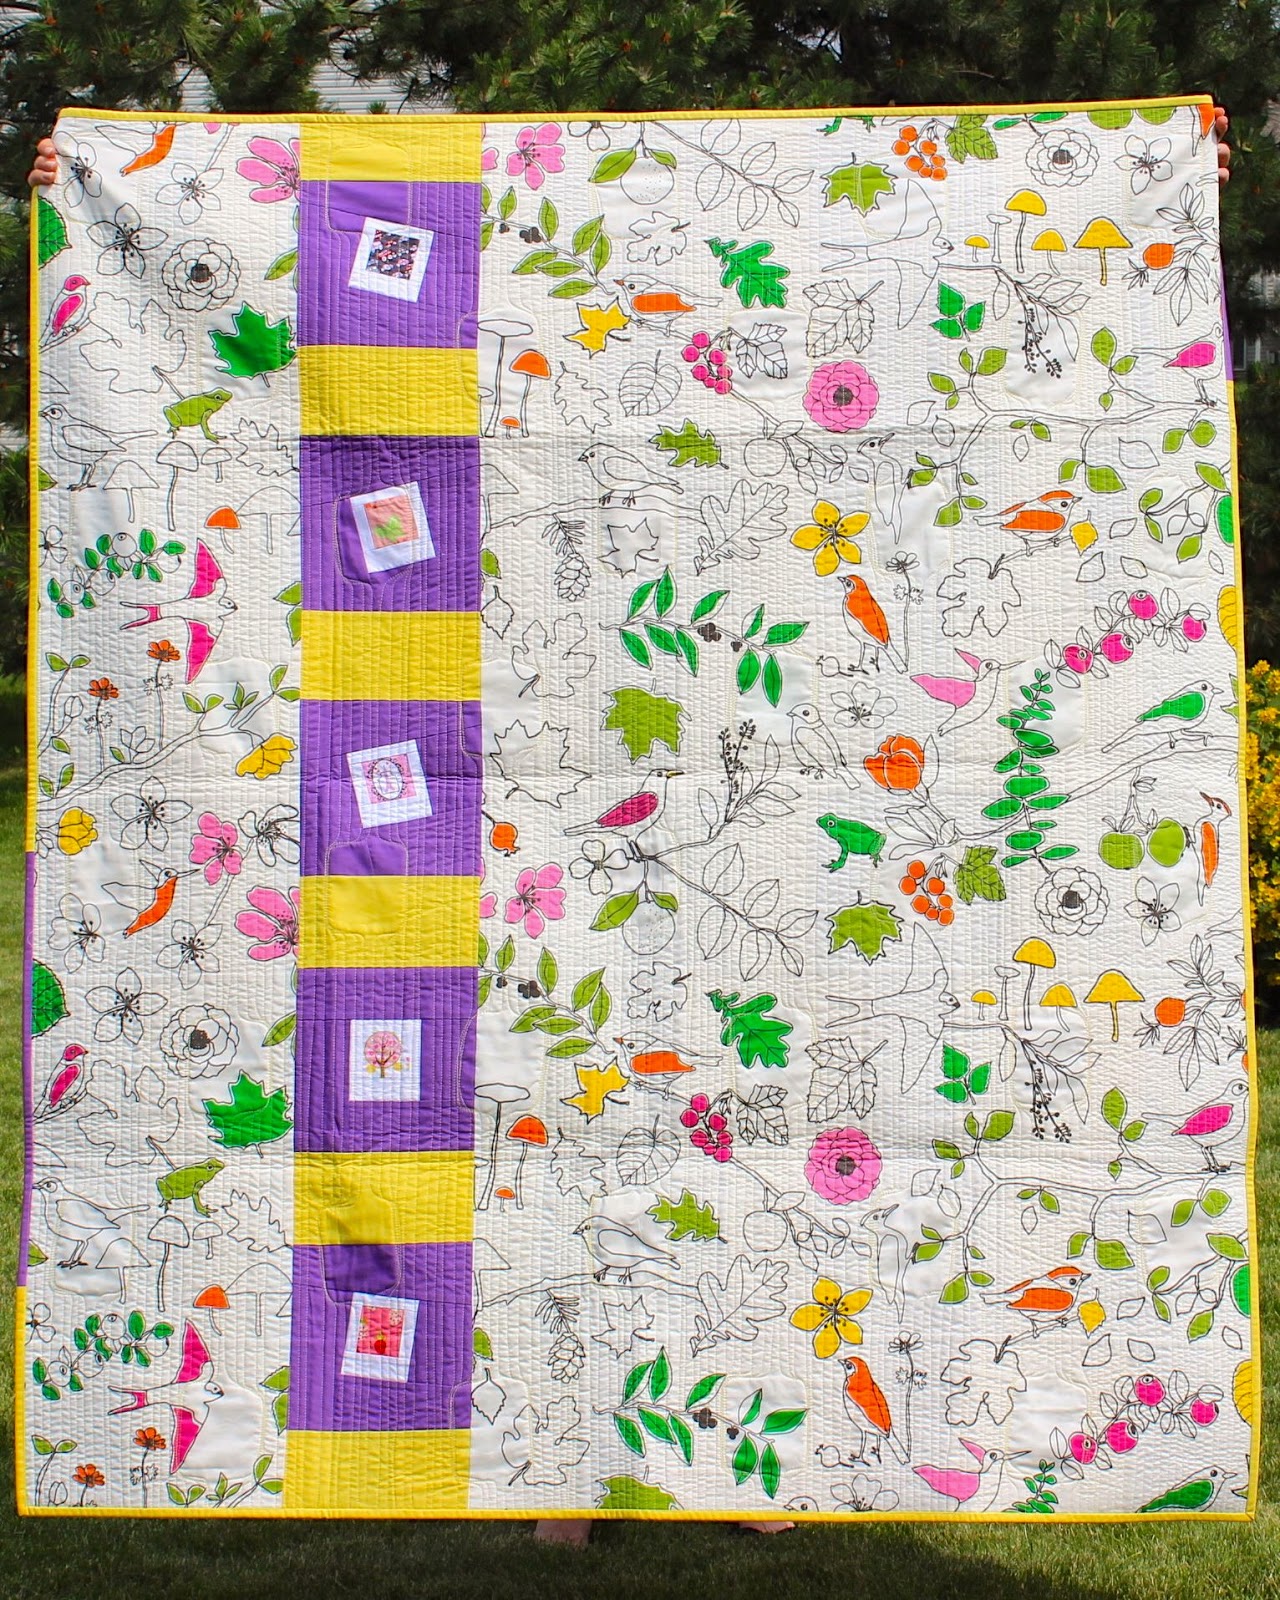
This is where I brag about the wonderful world of quilting, because quilters are so RAD! I asked for help with making a polaroid quilt. These are great for kids, because they feature what looks like polaroid pictures. By using small fussy cuts and solid white strips, you can make some really fun stuff. My goal was to acquire help with those portions of the quilt blocks, so that the final quilt would incorporate a good variety of pictures. Shortly after I put out the inquiry, the packages began arriving, and I was overloaded with tons of quilted polaroids. Here are just a few of them:

Polaroid Quilt Blocks


Thank you so much to Diane, Heather, Cindy, Kim, and Amy for sending tons of blocks! I'm going to have enough to finish 2 quilts!

Here is the first:

Polaroid Quilt

Polaroid Quilt

Polaroid Quilt Back


We used a tutorial from CapitolaQuilter as a guide to make our polaroid blocks. They are fast, fun, and easy.

The layout for the quilt is something I adapted from another quilt I saw at my quilt guild. The finished size is 56" x 64".

This quilt will be on its way to Valerie within the next few days, and then she will send it along to its recipient in Guatemala. I hope it brings comfort to a sweet girl. A boy's polaroid quilt is in progress. :)

Sunday, May 18, 2014

Washi Dress

**Warning --->
Due to the stark white severity of the exposed skin in the following photos, sunglasses are recommended for your own viewing protection.**
:)

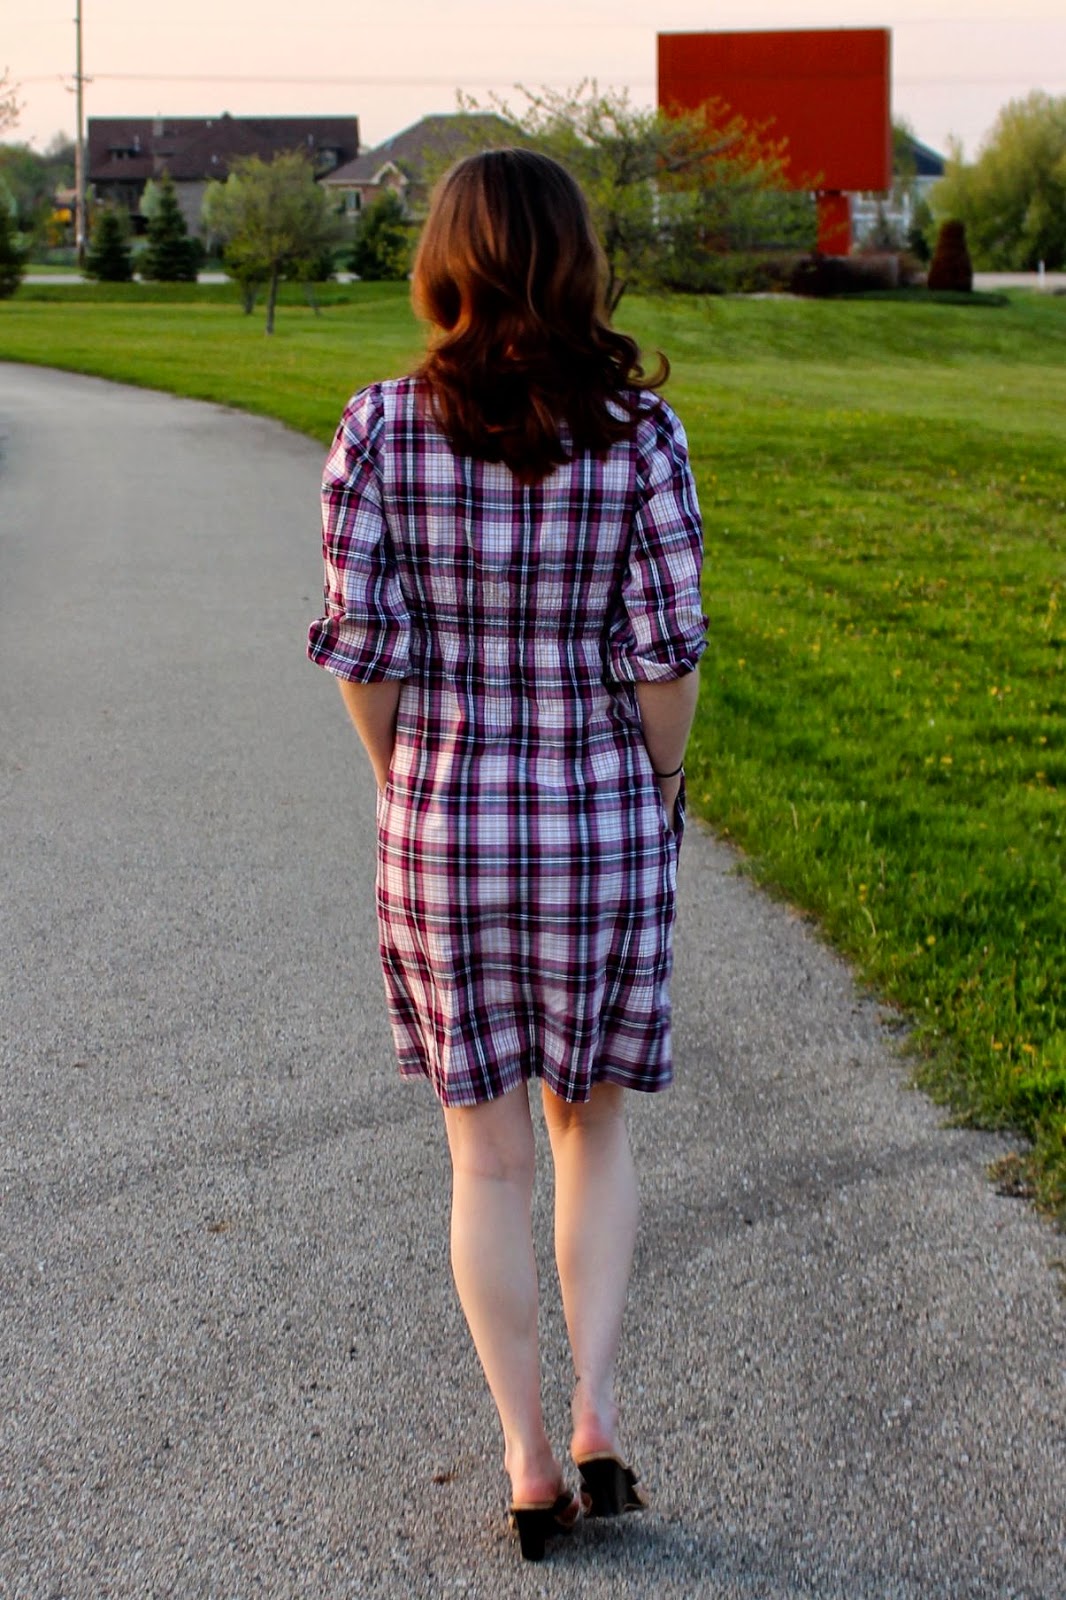
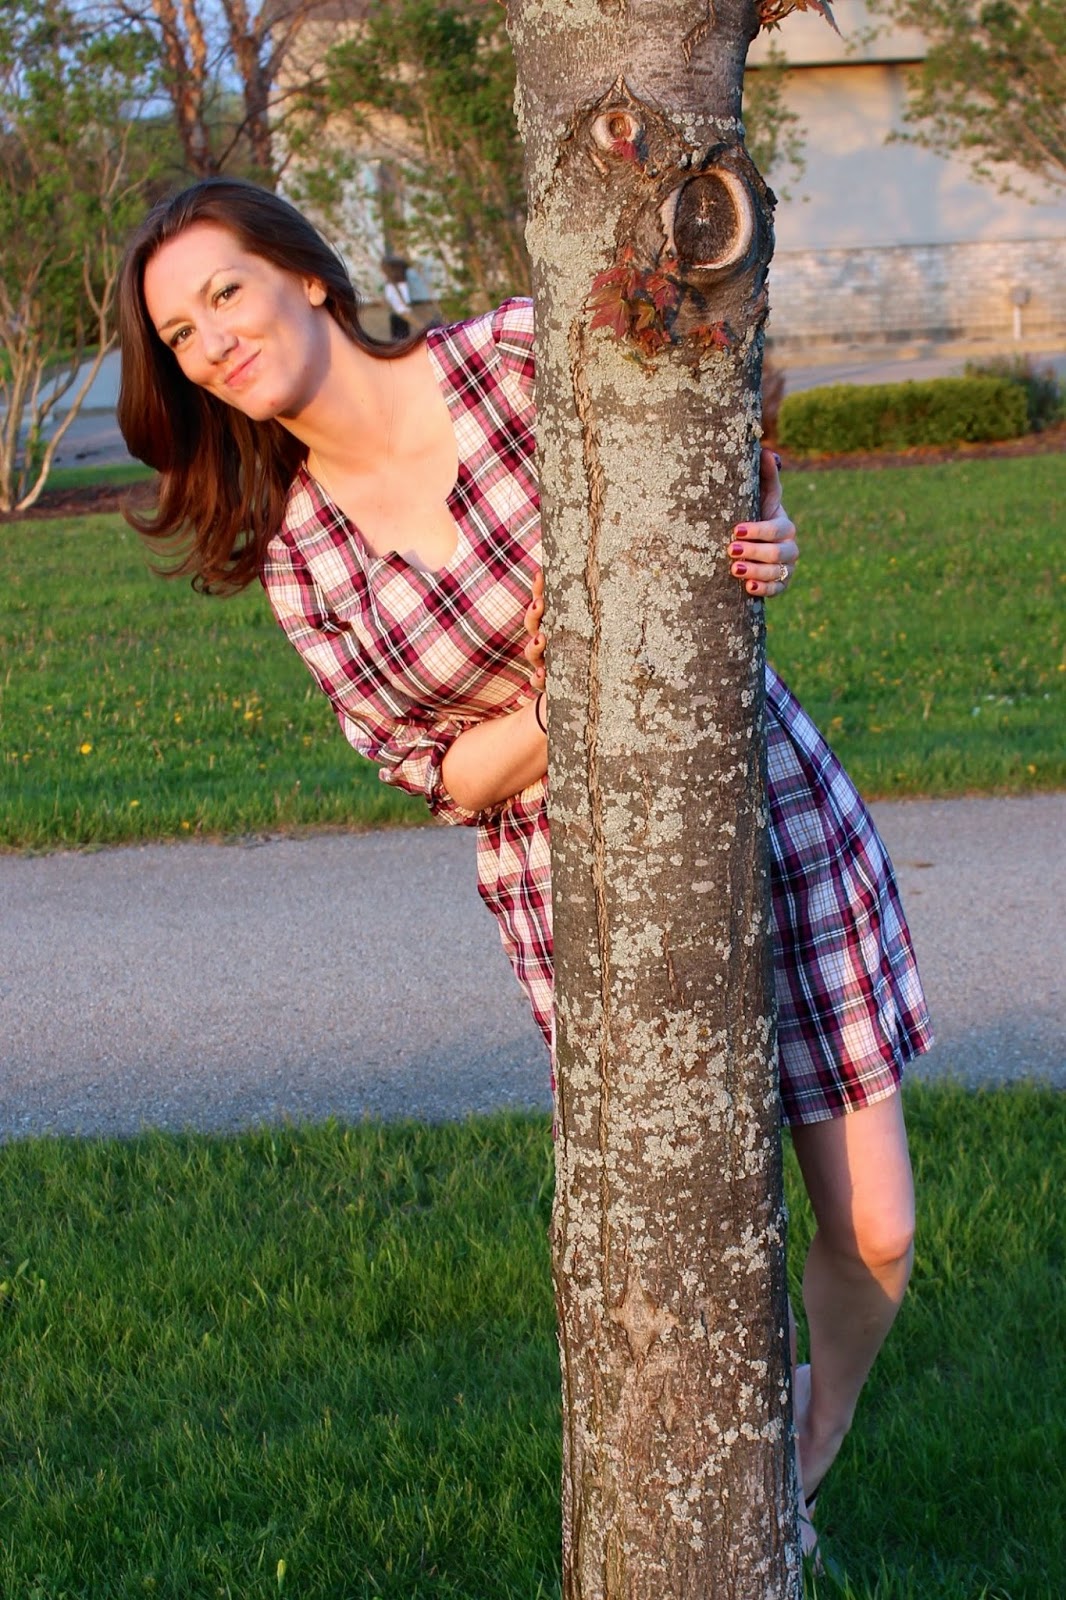
Washi DressThis weekend, I took a break from scrub caps and finally made my very own Washi Dress. I don't sew many garments, but one of my short term goals is to do that more often. It's nearly impossible as a gal at 5'10" to walk into a store and buy clothes off the rack. Making my own clothes is the obvious solution, albeit intimidating.

Rae Hoekstra's Washi Dress Pattern is so cute, and very easy. There were only 6 pieces to the version of the pattern that I made. First I made a muslin for the bodice, because I was pretty sure that I would need to lengthen just about everything. I was right, and the muslin only took a few minutes (well worth the effort). I added an inch or so to that, a few inches to the skirt length, and a bit to the sleeve as well. I learned how to make pattern piece adjustments from the Fast-Track Fitting class with Joi Mahon on Craftsy. It's a great class, and it saves so much time and heartache to make the adjustments to the pattern pieces instead of making an entire garment and then trying to alter it when it's finished. Ask me how I know. :/

Washi DressI used my serger to finish the seams, so the inside looks and feels great. No raw edges. Surely an overlock or zigzag stitch from a regular sewing machine would produce a great result as well, if you don't have a serger. I opted for the facings instead of a full bodice lining, and I chose to topstitch those down, because I like the look.

I can't tell you how excited I was when this dress was finished, because it actually fit, and it's comfy! Woohoo! I'm not in love with the fabric, but the reason I used it was because I bought it on clearance a while ago, and I didn't expect my first attempt to be a success. The quality is nice, though. It's soft, light, and doesn't wrinkle too badly. I can't wait to go pick out some wicked fabric to make more of these dresses! I'll likely make a few different versions that include different sleeves and tunic-length. Check out the Washi Dress Flickr Pool to see different versions of this pattern.


Washi Dress Back

Washi Dress

Saturday, May 17, 2014

Jelly Roll Chop

I love Jenny's tutorials over at The Missouri Star Quilt Company. Every Friday I look forward to seeing her newest one. They are usually all about fast and easy quilts or other quilty type projects you can do with precuts.

When I first got the Gracie Frame to go along with my Juki 2010Q, I was so scared to load up my first quilt! A long-armer friend told me how pointless it is to practice on scraps, though, so I finally conceded to use a quilt top I made with Jenny's Jelly Roll Race tutorial for my first quilt on the frame.

Jelly Roll Chop Quilt


I was shocked at how easy it was to load up the quilt layers onto the frame. The tutorials that Grace Company provides are excellent. I can't explain how intimidated I was by this whole process, but I was also thrilled at the same time.

I used a pantograph that I traced from a stencil for this first quilt and squealed gleefully all by myself down in my basement shop after I got going. It's so fun to quilt on this Juki/Grace Frame combo. It is lightweight to maneuver and very easy to follow the pantograph with the laser.

Jelly Roll Chop by Trina Peterson


This quilt is really special to me, because of the whole experience. I wanted it to go to someone who I knew would appreciate the process of quilting as much as I do. I gave this quilt to my Grandmother in Maine for Mother's Day. Grammom is also a quilter, and she never keeps anything she makes for herself, so I knew she would love it.

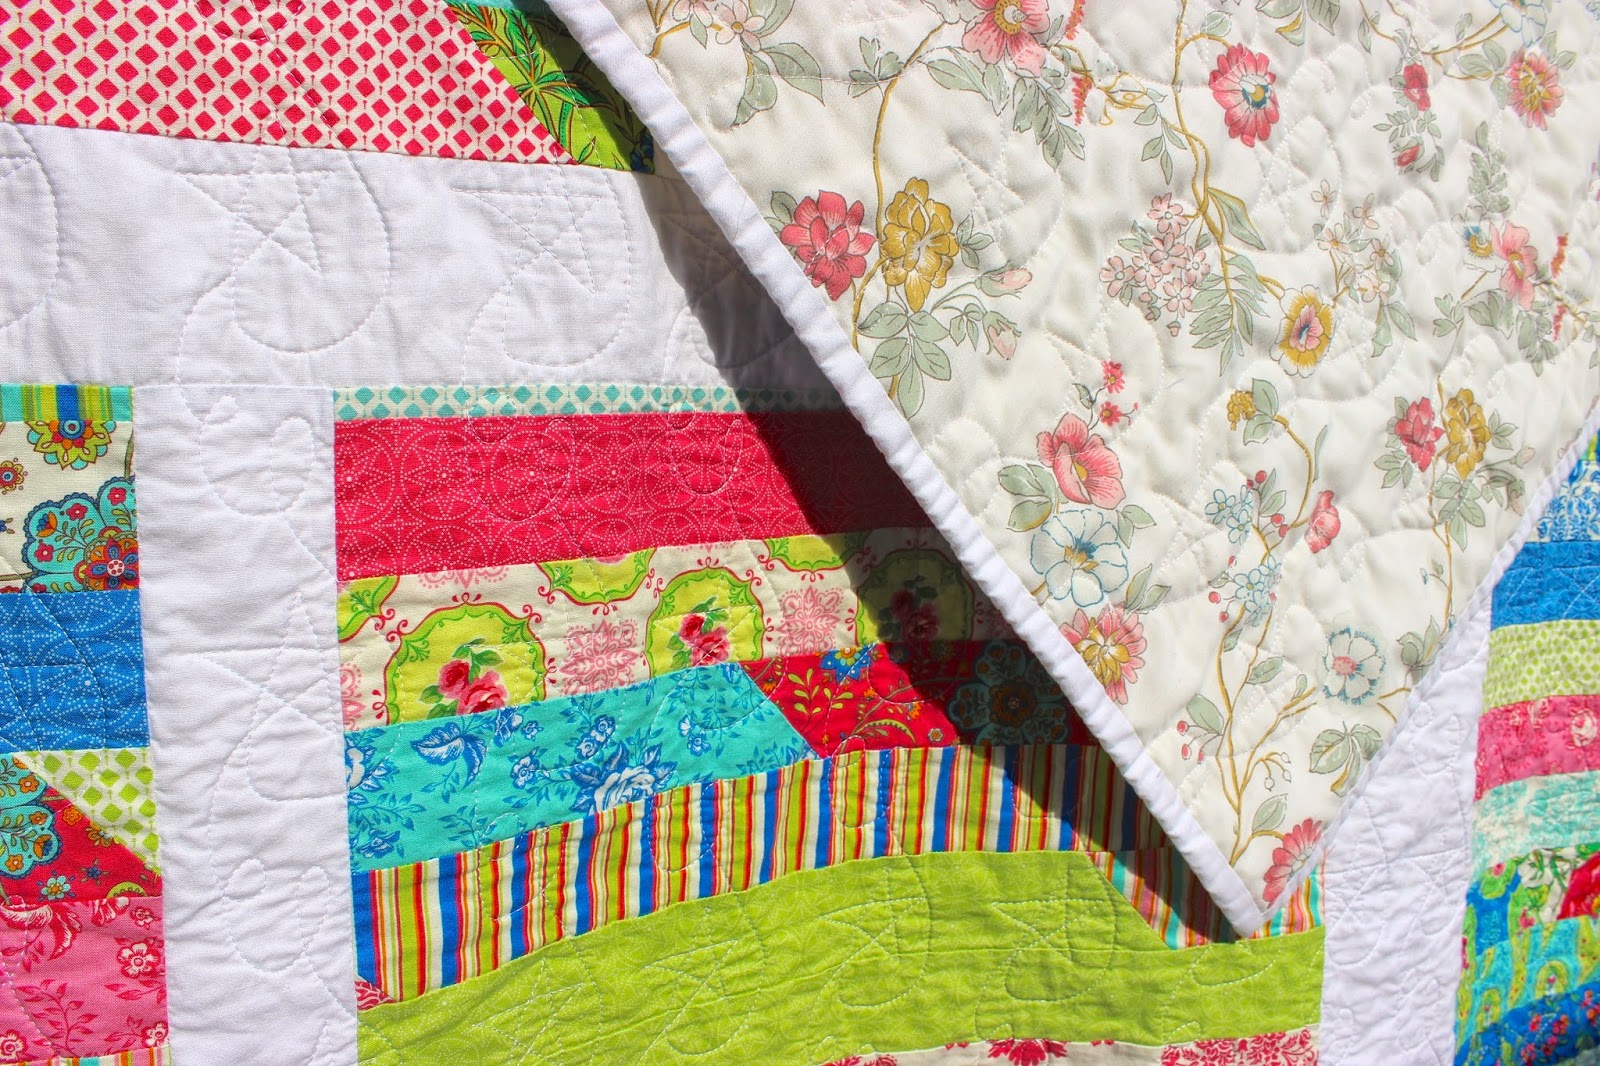
I call this quilt the Jelly Roll Chop, because after I completed the tutorial, I chopped it up and added some sashing to make it a little bigger and give it a different look. The jelly roll is Summer House by Lily Ashbury, and I used Kona White for the sashing and binding. The back is a vintage sheet, and the batting is Pellon Nature's Touch (as always - because I love it so much!!).

Monday, April 21, 2014

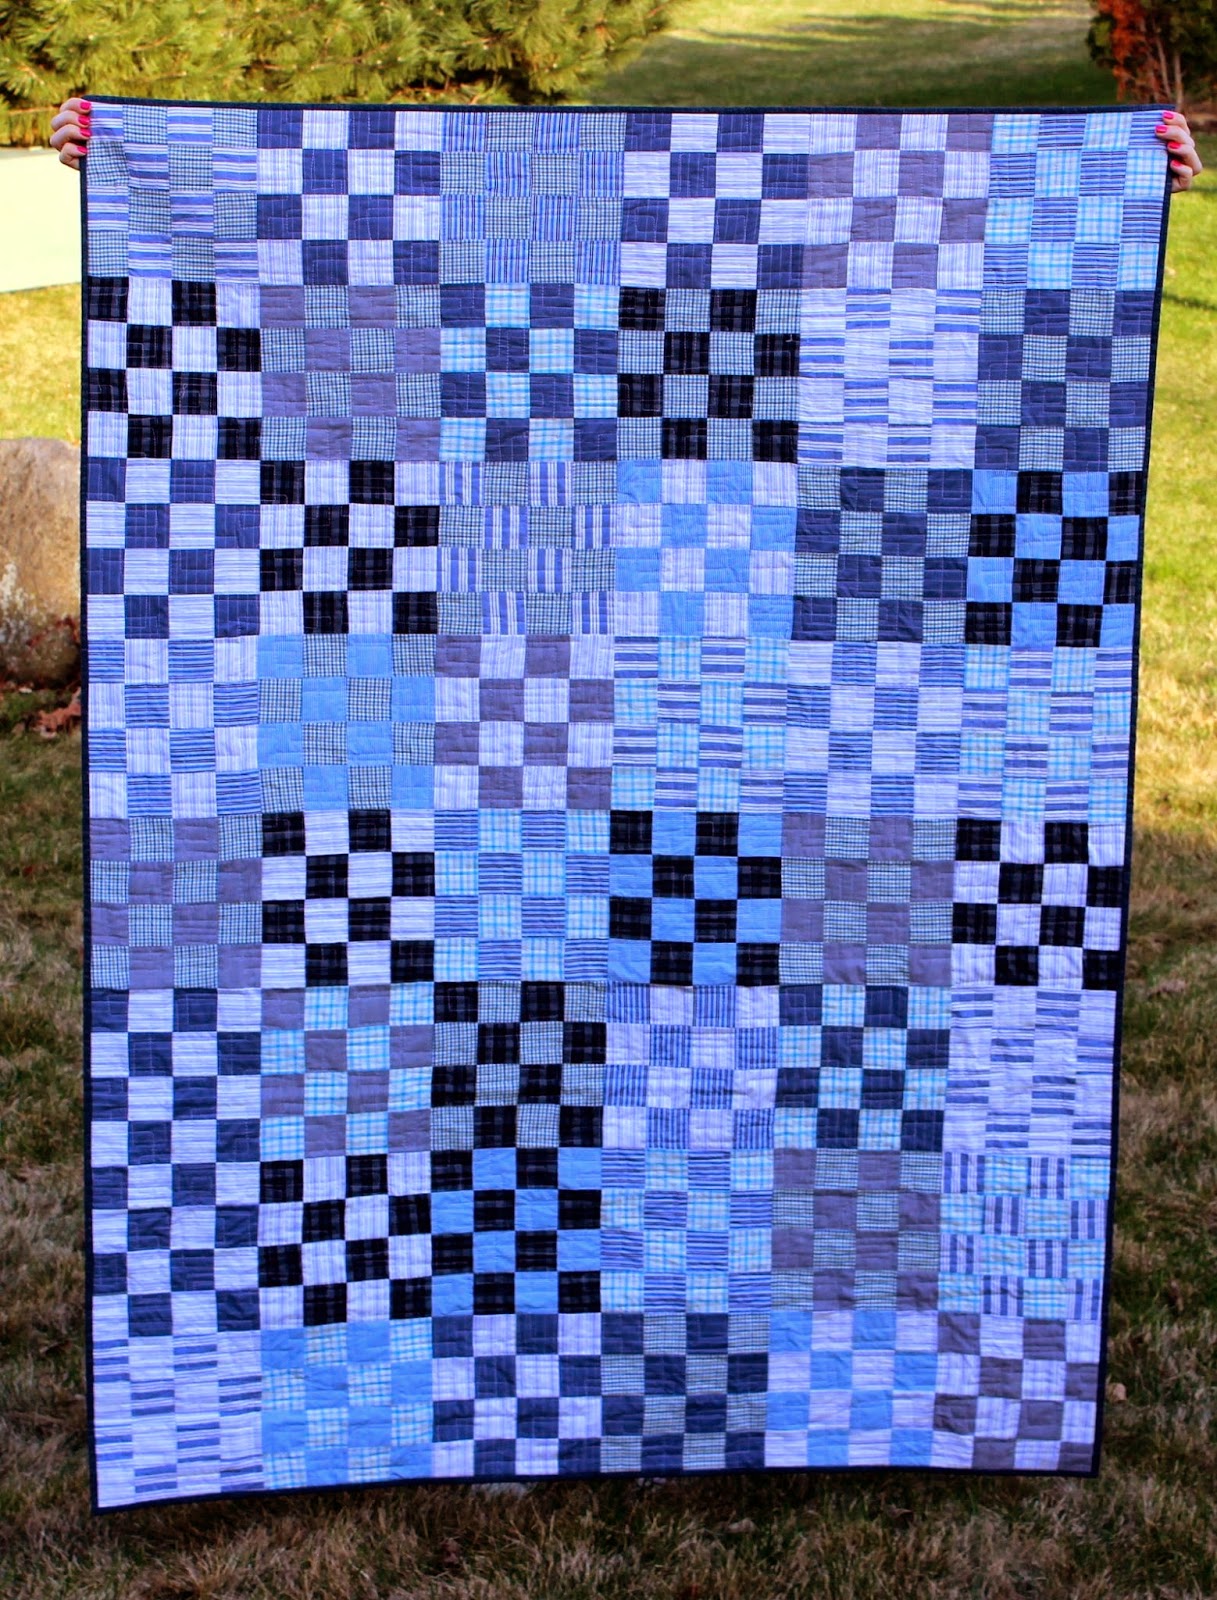
Nonnie's Quilt

Does anyone else have a hard time choosing fabrics and patterns for guys?

My dear great-uncle, Nonnie, turned 81 this past week, and I started thinking about a potential quilt for him many months ago, but my previous attempts at boy quilts have been sub-par at best.

Last year during garage-sale season I got it into my head that I would make a quilt out of old shirts. I thought a St. Louis 16 Patch with mens shirts might be my solution to the boy-quilt dilemma.

One night…concealed by mask and cape…I snuck into the closet belonging to Mr. Sexy Pants, and stole a couple of button-downs that haven't seen the light of day in probably a decade. (P.S. …do all other guys hang on to every article of clothing until eternity, and go postal when threatened with a trip to Goodwill? I swear there are t-shirts in his drawer that must have once clothed a porcupine, but Sexy Pants won't listen to reason when it comes to spring cleaning.)

Anyway, back to the quilt at hand:
St. Louis 16 Patch

I ended up adding one of my own shirts to the mix, and rounding out the rest with a trip to Goodwill. There were moments of doubt when I started piecing these together - I'm not going to lie to you. I was trying hard not to plan anything…just grab strips and sew them together. But there is always some point during this process when I lean back to stretch, take a look at what's going on in front of me, and think, "What the heck was I thinking? Ugh!" Does this happen to any of you? As luck would have it, this happened at a point I deemed too-late-to-turn-back-now, so I pushed onward.

I'm glad I did, because when I eventually pulled the quilt off of the frame and got the binding on, I couldn't help but smile. I don't know what it is about this one, but I really dig it. It's simple and all-boy. I'm also happy with the fact that these old shirts have found a new cozy purpose in life. No longer do they have to hang (forgotten forever) in dark closets, or cry out from a sea of thousands of other previously loved shirts at the Madison Goodwill for someone to please take them home.

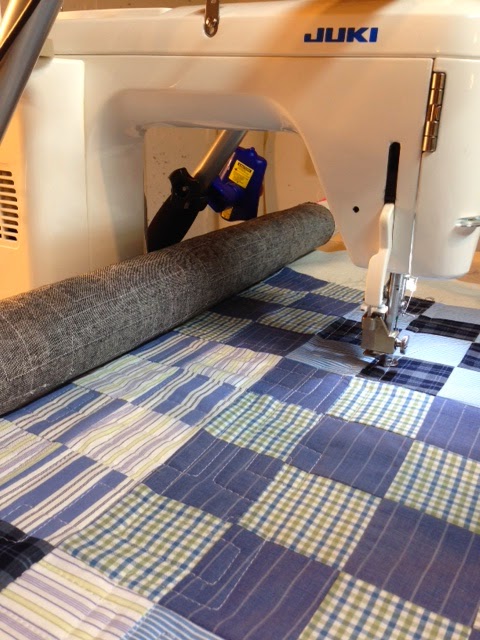
Quilting

Juki 2010Q & Grace FrameI got a call from Nonnie in Maine when he received his quilt on Saturday, and he was very pleased. I wish I could have been there to see him open it, but I know it will keep him cozy during his naps. :)

The quilt back is black yarn-dyed Essex Linen by Robert Kaufman, and the binding is from the freebie table that was generously sponsored by JoAnn Fabrics at Sew South! I quilted it on my Grace Frame & Juki 2010Q with a printed pantograph from the awesome Quilt CAD software by Grace.


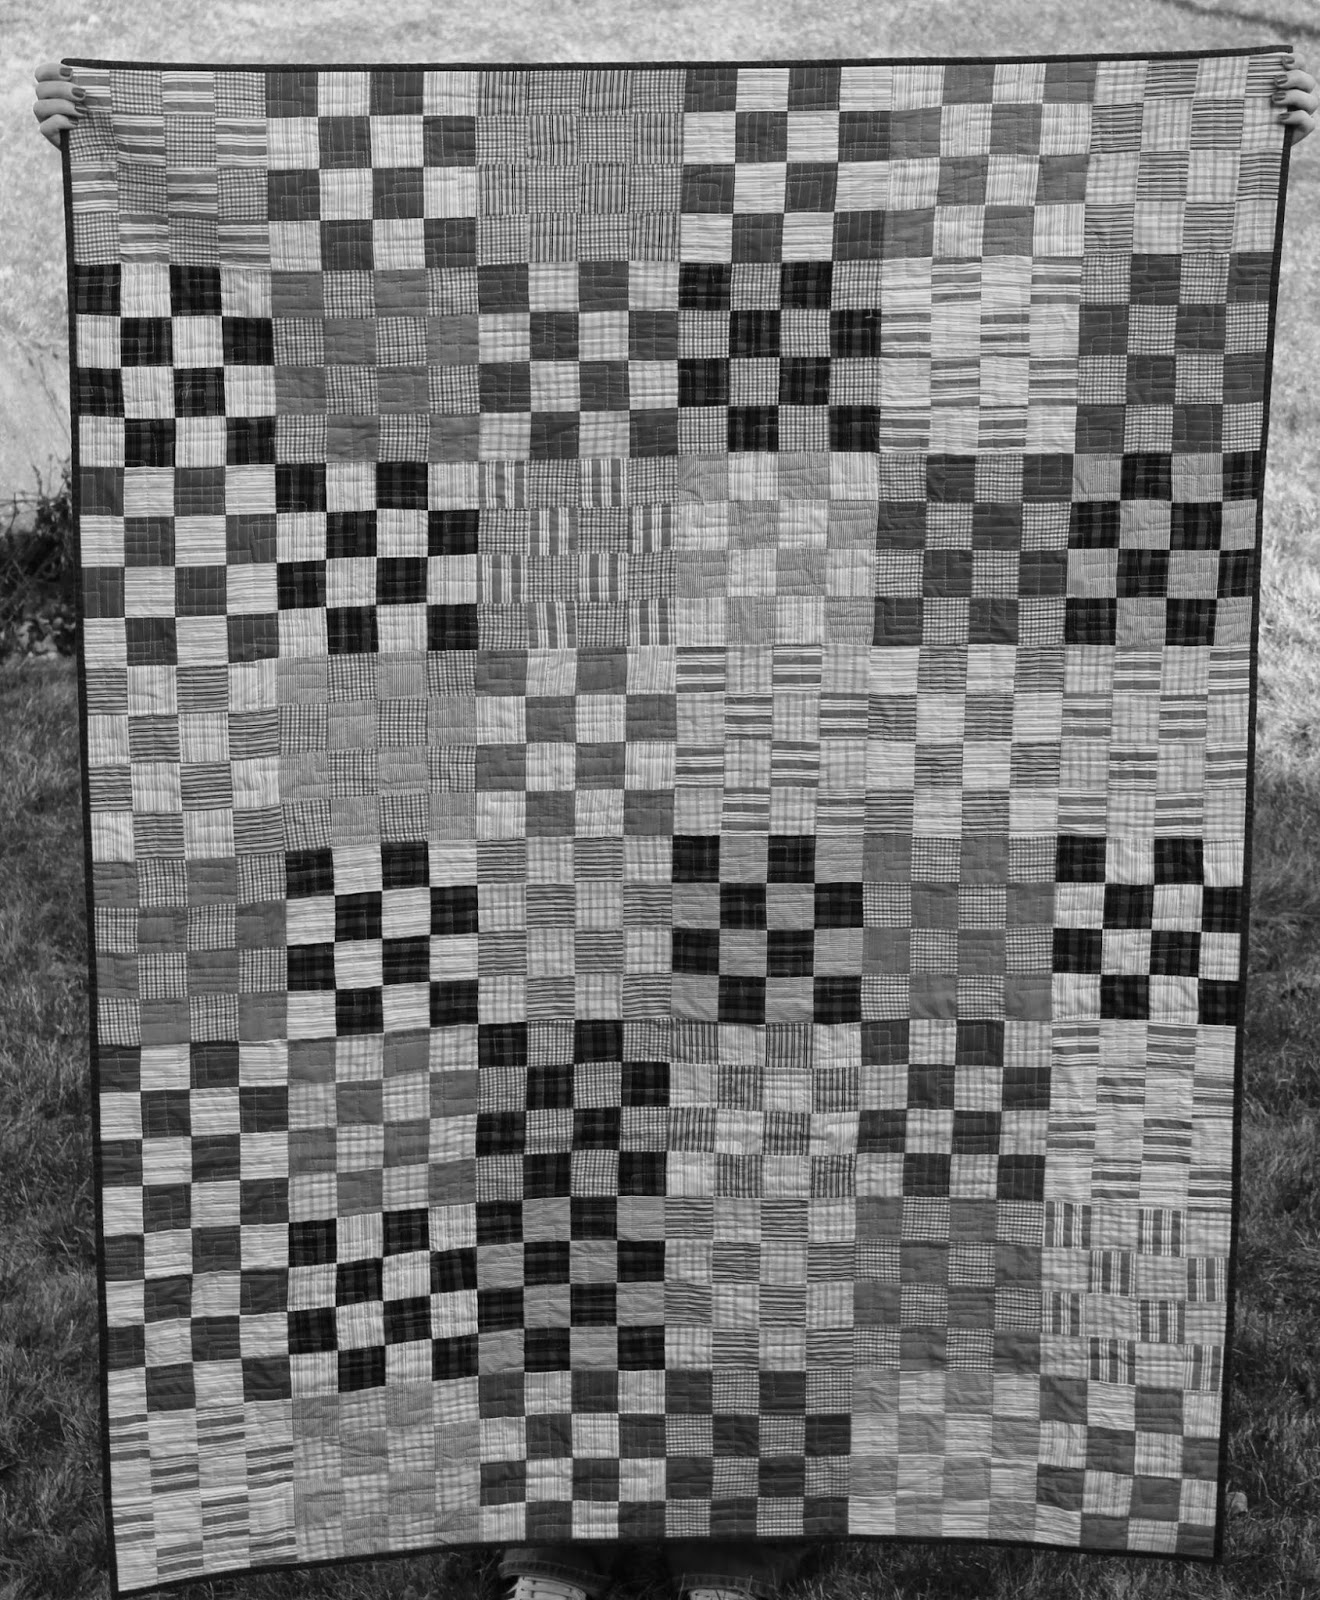
Black & White Quilt Picture

Happy Quilting :)

Tuesday, April 1, 2014

Sew South 2014

It's been just over a week since I returned home from the long anticipated Sew South Retreat 2014 in Charlotte, North Carolina. I can't possibility express how much fun and inspiration I've experienced at Sew South the last two years. Best of all are the friendships that I have made. It's hard to believe how such strong bonds can be forged in a few short days, but I am lucky to have made real friends from all across the country at Sew South. Thanks to apps like Instagram and Flickr, we can keep in touch on a regular basis, and share the projects we are working on and the important things happening in our lives. I love these girls, and I eagerly look forward to the next time we meet!

All of my Sew South photos were taken with my iPhone, and I'm sad to say that I didn't take many pictures (particularly with all my pals). Here's a quick peek at the fabulous Sew South Retreat from my perspective. 

Sew South Friends

Night of arrival - happy reunion with two gal pals from last year, Cindy & Diane.

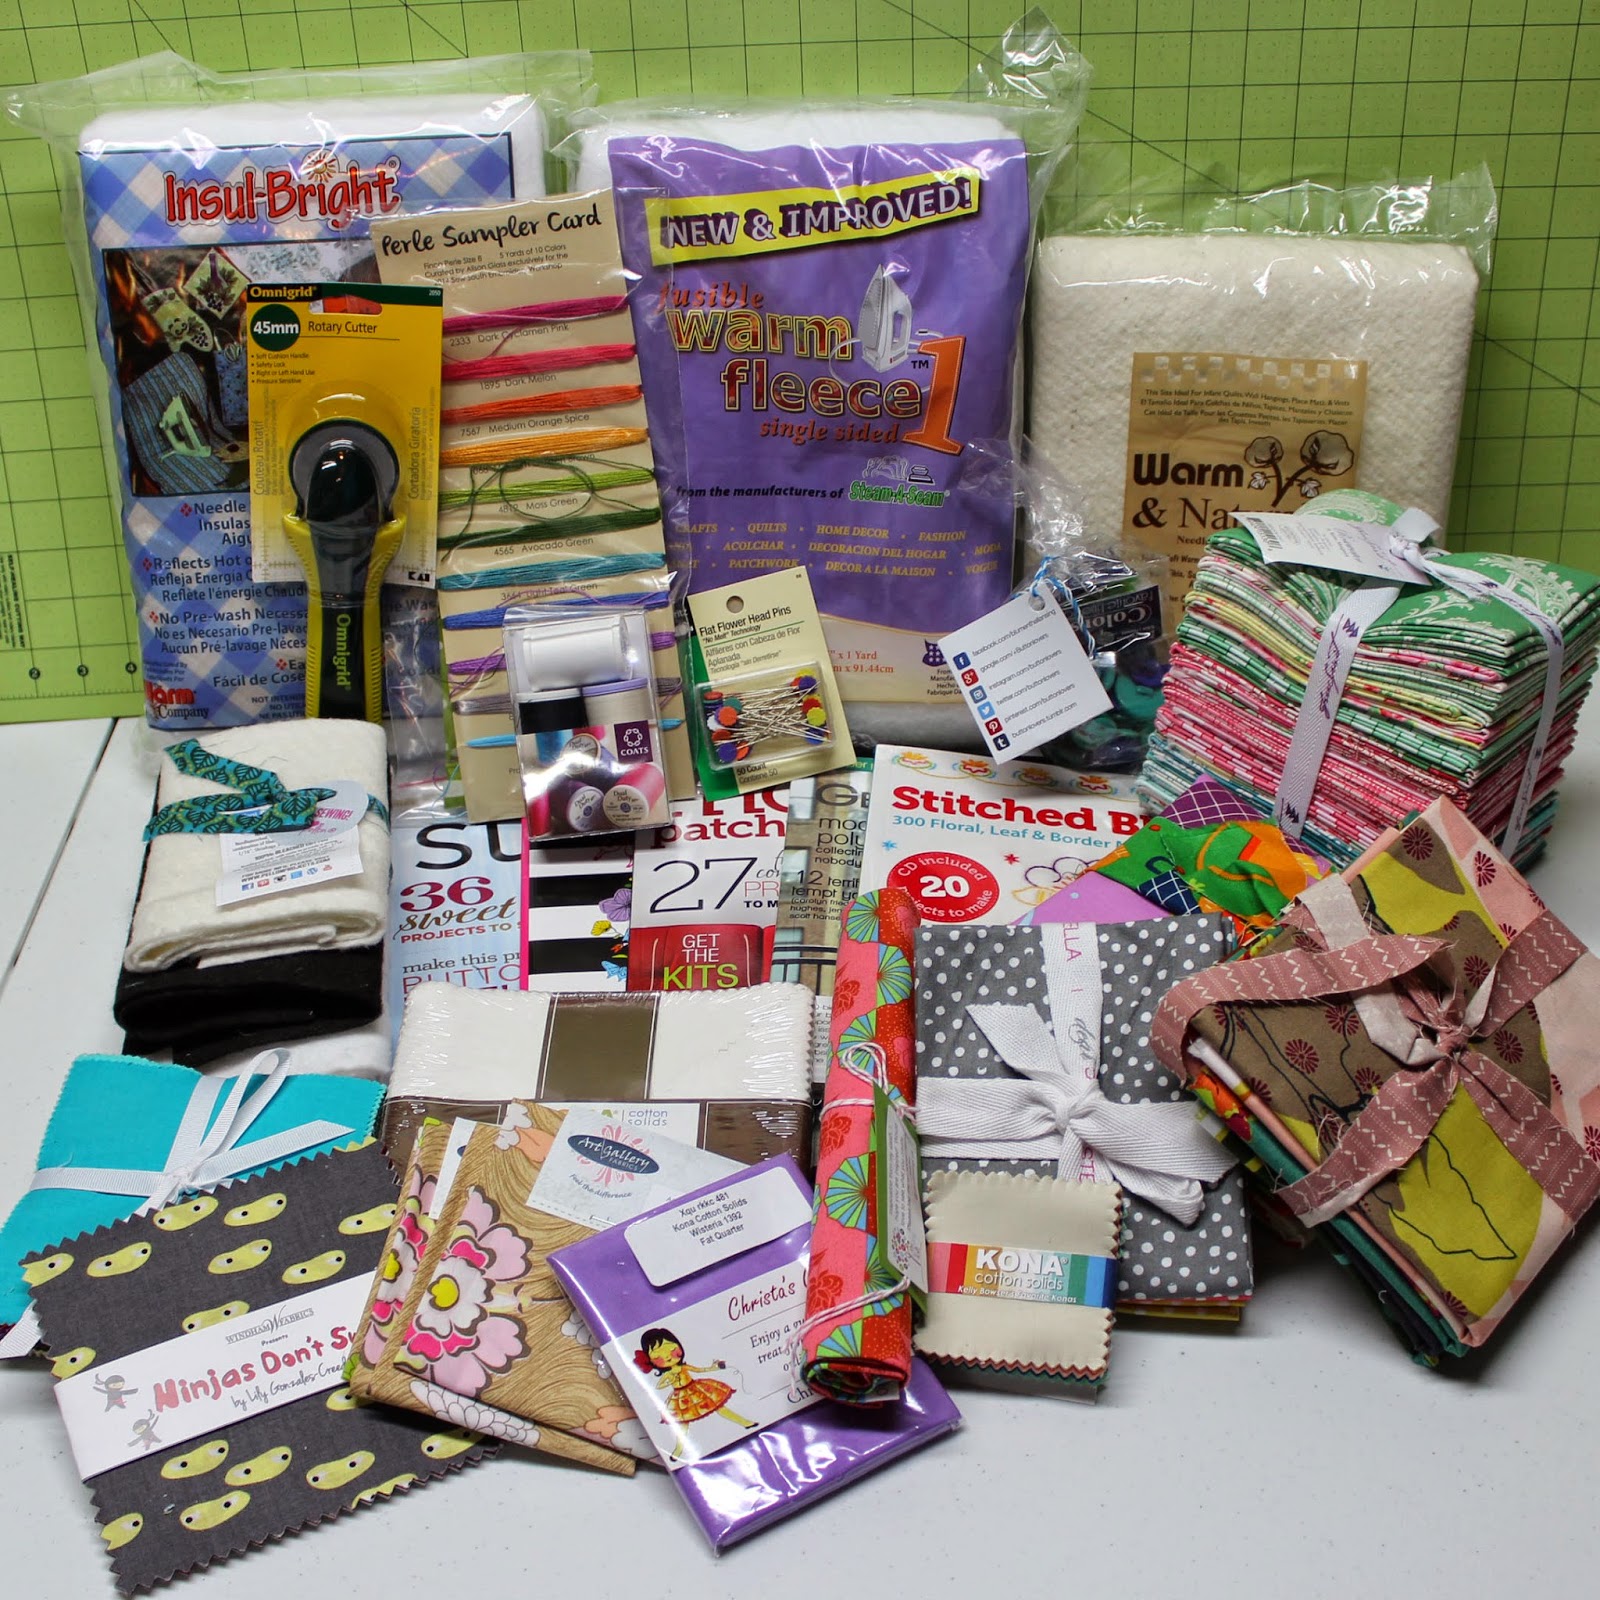
Sew South Retreat Swag

This year, we were greeted with our ENORMOUS swag bags on our first night! This isn't even all of it!! (That huge bundle was a door prize that I won. Hooray!!)

Travel Handmade

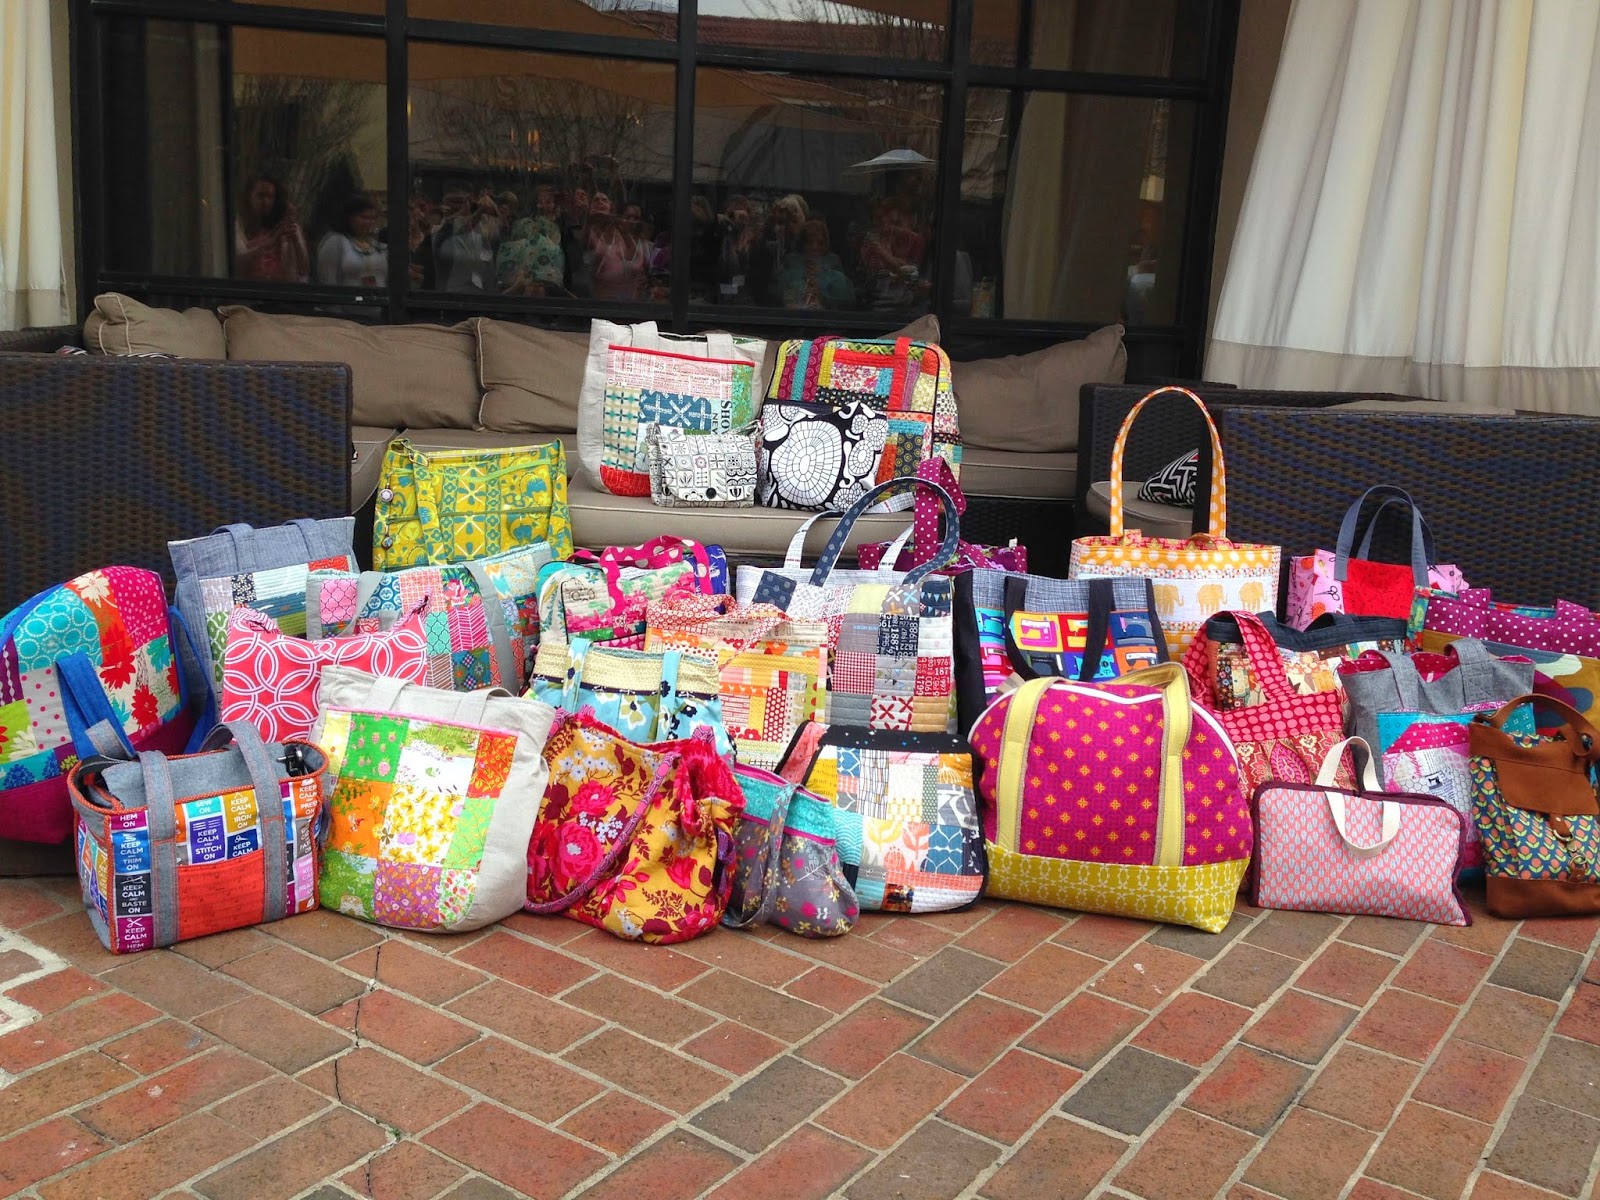
It was easy to pick out all of the arrivals at Sew South, because everyone carried at least one handmade bag. These are just a few of them.


This is the boxy pouch I made during our project class with Kelly Bowser. It was a fun, quick project, and I'm sure I'll make more of these awesome pouches.

Scrap Bucket

Here is my scrap bucket from our class with Heather Valentine. I'll definitely be making more of these. We even got to go outside and play with hammers to install the grommets!

The blogging class with Christen Barber was very informative, and I learned some important points to remember when using pictures.

Kati Spencer's class on improv was amazing. She brought some of her quilts to show, and they are gorgeous. I, however, have not yet finished my improv pillow project. I think I spent too much time chatting.

Neither have I finished my embroidery project from our class with Alison Glass. Yikes! Here is the start (along with the Perle Cotton that was generously donated by SewLuxFabric and needles from Dritz).

Embroidery

I have completed a tiny bit more of this project than pictured, but this is on my to-finish list (along with the pillow) for the next week or two. I LOVE Alison's embroidery patterns (in fact, I bought more). She is so very talented and nice. She also talked with us about her fabric design process, which was awesome!

One of the best parts about my Sew South experience this year was having the BEST Secret Sister in the WHOLE WIDE WORLD!!


Ironically, Karen was one of the first new gals I ran into at Sew South. My roommate and I immediately started referring to her as "Cool Karen." She traveled to Sew South with her bestie, Shirley, from Michigan. Although we are technically neighboring states, I'm sad that Wisconsin and Michigan are separated by that hugely inconvenient body of water called Lake Michigan. :*( Otherwise, I would be visiting these two at least every other day. Karen made me that fabulous mini dwell…along with all of the things shown below. And all of this wasn't even everything she gave me!! She was such a generous secret sister, but more than that…she is AWESOME! I'm so glad to call her and Shirley my two newest friends.


I was lucky to be Secret Sister to an awesome gal I had previously met at Sewing Summit, Tracey, from California. It was fun getting to know Tracey better, making her gifts, and trying to figure out things she might like. She is so upbeat, funny, and lovely. I'm glad I got to be her secret sister! Here she is with the Noodlehead Super Tote I gave her as a final "reveal" gift.


At the very end of the weekend, just before we all said our goodbyes, we gave Jennifer a surprise thank you gift for being so dang fabulous. Fellow Stitch Tease member and friend, Valerie came up with and coordinated a super-secret-surprise-project that we all pitched in and made for Jennifer leading up to Sew South. Over 40 gals made random star blocks in Jennifer's favorite colors, and sent them along to Valerie. She then put them together and made a quilt. The picture I took was from far away, but here it is in all it's glory. I think it's safe to say that Jennifer loved the quilt. There was definitely some "ugly crying" going on.


One last picture that truly portrays the joy we felt at Sew South. No fake smiles here!


Karen, myself, Diane, Cindy, & Shirley

I already can't wait to go back!

Jennifer is giving away some more Sew South swag to a couple lucky winners on April 5th. Click here to visit her blog and enter to win! 

Thank you so much to all of the generous
Sew South Retreat 2014 Sponsors!!

Coats & Clark Free Spirit Fabric
Rowan Jo-Ann Fabrics
Pellon Dritz
Michael Miller Fabrics Oliso
Schmetz Blumenthal
Lark Crafts Dear Stella
Stash Books Robert Kaufman Fabrics
Aurifil

Sunday, March 23, 2014

Modern Sampler Quilting Class

Modern Sampler Quilting ClassI am excited to announce that I will be teaching a Modern Sampler Quilting Class series at the Electric Needle in Madison, WI beginning in May!

The Mod Sampler is a series consisting of 4 classes, and we will make a quilt that features 7 quilt blocks (6 on the front and 1 on the back) from Tula Pink’s City Sampler Book, 100 Modern Quilt Blocks. You must buy the book for the class, and it is available with a discount at the Electric Needle if you enroll in the class. I designed the quilt layout, and I will teach you how to break out of your traditional quilting shell. Come learn my favorite way to improv, and explore some of the qualities attributed to the modern quilting movement: negative space, solids, pieced backs, and pieced bindings.

If you are new to quilting, this is a great class to get you started. This quilt is a quick finish, and I will help you through the process. The fourth and final class will be optional, as it will be for those students who would like help with making the quilt sandwich, basting, machine quilting (including free-motion quilting), and binding.

Modern QuiltingStop in or call the Electric Needle (608) 831-3770 to reserve your spot. Click here to visit the Electric Needle’s website page for this class.


Class Dates:
  • Saturday, May 3rd
  • Saturday, May 17th
  • Saturday, May 31st
  • Saturday, June 14th (optional)
Time:  1:00 – 3:00 p.m.
Class Series Fee:  $60 (does not include book)

A supply list will be provided when you sign up for class. Please feel free to email me if you have any questions! trina@trinapeterson.com

Pieced Quilt Back

Tuesday, March 4, 2014

Hexies!

Calling all English Paper Piecing lovers (and those of you who'd like to try it)!

I admit to being other-than-enthusiastic the first time I was introduced to English Paper Piecing. I wasn't all that excited about the seemingly time consuming project, and my hand-sewing skills were poor at best. Eventually I gave in and tried it, and I was hooked. It's so addictive! It's a great take-along project, an excellent way to use scraps, and a source of endless project possibilities. It's also a great way to improve those hand-stitching skills.

Finding the right templates to use for EPP may well be the most important part of the process. Printing them yourself on copy paper isn't necessarily a great recipe for success (as I found out). Even if you print them on heavier paper, if your cutting skills aren't flawless, the pieces won't fit together well in the end.

Recently, I was fortunate to have the opportunity to test some new templates that have just been introduced by Renae from Gray Rayne Fabrics. They are excellent! The heavier paper is stiff enough to hold up well to hand-stitching & pressing, and they are sturdy enough to use over and over again. They're not too thick to poke the needle through. In effect…they're pretty much perfect. The price will make you smile, too.

Here's what I made with my templates so far: a travel bag set to take all of my girlie things with me to Sew South. Because let's face it: a girl can never have too many adorable matching travel accessories, eh?


If you're interested in trying out these fabulous templates, click here to get them at grayraynefabrics.etsy.com.

If you're new to English Paper Piecing, there is a quick tutorial on Craftsy. Click here.

Or …as they say… GOOGLE IT!  ;)


Sunday, February 23, 2014

Crafty Traveler Blog Hop


Welcome to my stop on the Crafty Traveler Blog Hop!!


I'm reviewing an awesome Noodlehead pattern: The Sidekick Tote. I love the way Anna writes all of her patterns. They are well illustrated, easy to understand, and the construction process makes sense (to me at least). If you haven't tried any of her patterns, you are missing out. There is a reason why they are so very popular.


The Sidekick Tote is an excellent size for everyday use, and I love the front pocket for quick phone access. There is also a pocket on the inside.

This pattern taught me how to do that wonderful recessed zipper closure at the top that doesn't have any holes on the side. I love this closure!! Does anyone else have that fear of dropping your bag and watching 15 tubes of lipgloss, approximately 8 bucks worth of loose change and other ladies' unmentionables tumbling out onto the floor at the grocery store? …maybe it's just me.
Anyway, this awesome zipper closure relieves my fear - and it's not as intimidating to install as it looks.

Anna's pattern includes instructions for an adjustable strap, but I opted not to do that. Now I'm regretting it of course, so I suggest taking the time to make that cool strap.

I used fabrics from the Boho line by Urban Chiks for Moda (except for the solid lining). The interfacing that Anna suggests in her pattern provides a really nice stability for this bag, but it is still soft and comfy.


Thanks for stopping by to see my Sidekick Tote! Click here to get the pattern at Noodle-head.com. Don't forget to link up your own handmade travel accessory for a chance to win an awesome prize from Jennifer's Crafty Traveler Contest. And check out all the other cool pattern reviews along the Hop. See details below.


Crafty Traveler Blog Hop: Feb 3- March 12


Link-up your travel handmade project March 6-12 for a chance to win one of three great prizes! (US only) 

Info: 

Prizes: 
#1: Free Spirit Fabric, Crafty Traveler Tote supplies and Dritz rotary cutter. 

#2: Box of 50 Coats Threads

#3: Pellon Prize Pack (Interfacing & Batting) 

To enter to win simply link up your project at ellisonlane.com on March 6. Please link from a new blog post but your project can be anything you've made to travel handmade within the last 6 months. 

You may also link from Flickr or Threadbias. 

Blog Hop Schedule
3/13: Winner's announced! 

Thank you Jennifer at Ellison Lane for hosting this fabulous series!
Thank you to the generous Crafty Traveler sponsors!!